Your Guide to a Printable Receipt Template Free and Easy
Create a professional printable receipt template free with our easy guide. Customize, download, and manage expenses for your small business or personal needs.

A printable receipt template free of charge is often the quickest way to produce professional, accurate proof of any transaction. If you're a freelancer, run a small shop, or just need to replace a lost receipt for an expense report, these templates give you a simple fix without needing to install any software.
Why a Free Printable Receipt Is a Small Business Lifesaver
Let's face it—managing expenses and paperwork can be a real pain. For small businesses and freelancers, messy records can easily lead to cash flow issues and a massive headache come tax season. A simple printable receipt template isn't just a nice-to-have; it's a vital tool for keeping your business healthy and growing.
Imagine you're a freelance graphic designer who just wrapped up a big project. Instead of just firing off a plain email asking for payment, you can generate a crisp, itemized receipt with your logo, a clear breakdown of services, and the payment details. It’s a small detail, but it instantly makes your business look more professional and leaves no room for confusion.
Or think about a vendor at a local craft market who mostly deals in cash. When a customer asks for a receipt for a business expense, you don't want to be caught scribbling on a napkin. Being able to quickly create and print a proper receipt on the spot builds trust and ensures your own sales records are spot-on.

The Real Cost of Poor Record Keeping
Being disorganized isn't just an annoyance; it has serious financial downsides. A shocking 82% of small businesses fail because of poor cash flow management. This issue gets even worse when an audit happens, as missing or unreadable receipts can result in hefty penalties.
In fact, according to IRS reports, improper documentation is a contributing factor in 65% of small business audits, which can end up costing an average of $15,000 per incident. A dependable template helps you sidestep these problems by making sure every single transaction is documented correctly. You can get more information on how organized receipts help with legal compliance in this helpful guide.
A professional receipt does more than just track a sale. It reinforces your brand’s credibility, simplifies bookkeeping, and provides a clear, legal record of every transaction, protecting both you and your customer.
From Chaos to Clarity in Seconds
We've all been there: a pile of papers, a looming deadline, and the sinking feeling that you can't find what you need. A printable receipt template cuts through that chaos. It provides a direct, easy-to-follow solution for a whole range of common headaches.
The table below shows how these templates can be a game-changer for different users.
How a Free Printable Receipt Template Solves Common Problems
| User Type | Primary Challenge | Template Solution |
|---|---|---|
| Freelancer | Appearing unprofessional with text-based invoices. | Creates branded, itemized receipts that build client trust. |
| Small Retailer | Inconsistent, handwritten receipts for cash sales. | Provides a standardized, professional format for every transaction. |
| Employee | Lost a receipt needed for an expense report. | Quickly generates a replacement receipt with accurate details. |
| Landlord | Tracking rent payments with manual records. | Offers a clear, printable record of payment for both landlord and tenant. |
As you can see, the right template provides an immediate, practical fix. Modern receipt generators offer an incredibly straightforward way to create these essential documents.
Tools like Invoice Simple or Canva's receipt maker instantly organize all your information—business details, itemized lists, taxes, and payment methods—into a polished, universally understood format. It takes the guesswork out of manual calculations and gives all your financial documents a consistent look, which is a must for building a trustworthy brand.
Choosing the Right Receipt Template for Your Needs
Grabbing the first printable receipt template free of charge is tempting, but it’s a shortcut that often leads to headaches down the road. The secret to a good receipt is starting with a layout that's actually built for your specific industry. A one-size-fits-all template just doesn't cut it.
Think about it this way: a receipt from your local coffee shop looks nothing like an invoice from a freelance graphic designer. The coffee receipt needs a clear line for a tip, while the designer’s invoice has to break down billable hours and project milestones. Using the wrong one just looks sloppy and can confuse your customer.
Matching the Template to Your Business
Before you jump into customization, take a moment to think about the transaction you're documenting. Every business has its own unique information it needs to capture, and a solid template will already have the right structure in place.
For instance, a retail receipt is all about physical products—it needs clear columns for quantity, item name, price per unit, and a subtotal. A service provider like a plumber or a marketing consultant, on the other hand, needs fields to detail the work performed, service dates, and hourly rates.
Pro Tip: Don't try to shoehorn a service-based business into a retail template. You’ll spend more time fighting with the layout than you would have spent finding the right one to begin with. It’s a recipe for errors and a less-than-professional look.
Common Receipt Template Styles
Knowing what to look for makes the selection process a whole lot easier. Most receipt generators group their templates by style, each designed to present information in a way that feels familiar and clear for specific industries.
Here are a few of the most common formats you'll run into:
- Retail Sales Receipt: This is your classic store receipt. It’s perfect for selling physical goods and has all the essentials: item lines, tax calculations, and a final total.
- Service Invoice/Receipt: Built for freelancers, contractors, and consultants. The focus here is on describing the services provided, breaking down hours, and detailing project specifics.
- Restaurant or Cafe Bill: This one is designed for hospitality. It will always have a dedicated spot for a tip, space for a server's name, and often shows a breakdown for split payments.
- Gas Station Receipt: A highly specialized format that clearly lists the fuel type, gallons (or liters) pumped, price per gallon, and the total transaction amount.
Spending a minute browsing a gallery of different receipt template styles will pay off. When you start with the right foundation, the rest of the process is a breeze, and you end up with a document that looks professional and works perfectly for both you and your customer.
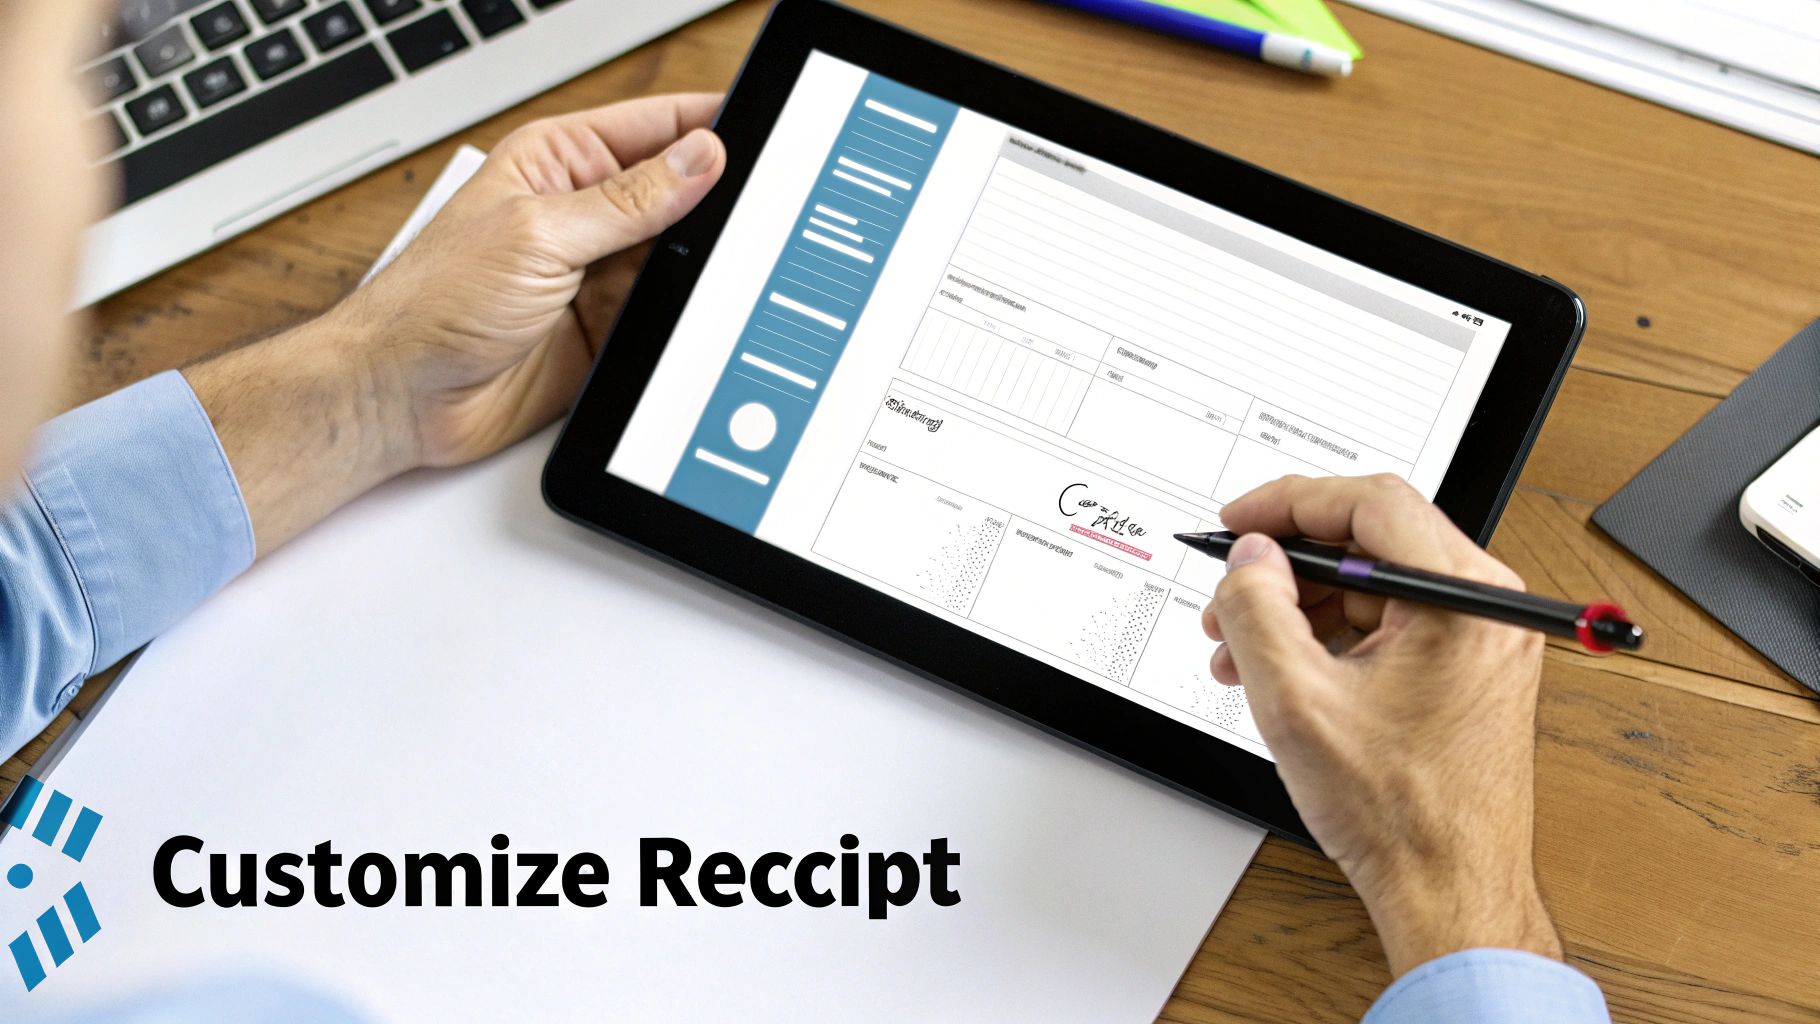
How to Customize Your Receipt for a Professional Look
Once you've found a basic layout you like, it's time to turn that generic printable receipt template free of charge into something that truly represents your business. This is where the magic happens—you’re not just filling in blanks, you're creating a professional document that builds trust and reinforces your brand.
The very first thing you need to do is stamp your identity on it. This means adding your business name, address, phone number, and email. Think of this section as your receipt's business card. Just as important is your logo; it’s the visual handshake that makes your business instantly recognizable. Getting this right matters. In fact, consistent branding across all your customer touchpoints can boost revenue by up to 33%, and your receipt is a critical piece of that puzzle.
Nailing the Details: Itemizing Products and Services
With your branding in place, you can move on to the heart of the receipt: the itemized list. Vague descriptions are your enemy here. Something generic like "services rendered" or "product" just isn't going to cut it—it creates confusion for customers and can turn into a real headache for your own bookkeeping.
Be specific. For every single line item, make sure you include:
- A Clear Description: Instead of “Consulting,” write “Social Media Strategy Session.” Instead of “T-Shirt,” use “Medium Blue Cotton T-Shirt.”
- Quantity: How many units were sold or hours were billed.
- Unit Price: The cost for a single item or one hour of your time.
- Total: The automatically calculated amount (Quantity x Unit Price).
This level of detail leaves no room for doubt. It makes it easy for customers to see exactly what they paid for and helps you track sales and inventory with precision.
A well-itemized receipt is more than just a piece of paper; it's a clear, indisputable record. It protects both you and your customer by spelling out exactly what was exchanged, which can save you from a lot of back-and-forth later on.
Getting the Numbers Right: Tax and Payment Info
After listing the items, the next step is handling the financial details at the bottom. This is where you’ll apply the correct tax rate and show how the customer paid. The good news is that most receipt makers automatically calculate the subtotal, add the tax you specify, and give you the final grand total. This automation is a lifesaver and dramatically cuts down on manual math errors.
You’ll also want to clearly state the payment method. Common options include:
- Cash
- Credit/Debit Card (some tools even let you specify Visa, Mastercard, etc.)
- Digital Wallets like Apple Pay or Google Pay
- Check or Bank Transfer
This information is crucial for your own accounting. It helps you reconcile your daily sales and see which payment methods are most popular with your customers. For a deeper dive into all the essential fields, check out our guide on how to make a receipt.
A clean, organized layout makes all these final details easy for customers to understand at a glance.
As you can see, modern tools provide structured fields for every key element, ensuring you don't miss a thing.
To help you prioritize, here's a quick breakdown of what you absolutely need versus what's nice to have.
Essential vs Optional Receipt Customizations
| Customization Field | Purpose | Priority Level |
|---|---|---|
| Business Name & Address | Identifies the seller and ensures legal compliance. | Essential |
| Logo | Provides instant brand recognition and builds trust. | Highly Recommended |
| Itemized List (Description, Qty, Price) | Details the transaction to prevent disputes. | Essential |
| Subtotal, Tax, Grand Total | Breaks down the cost for clarity and tax purposes. | Essential |
| Date & Receipt Number | Provides a unique identifier for record-keeping. | Essential |
| Payment Method | Confirms how the payment was made for accounting. | Highly Recommended |
| "Thank You" Message | Adds a personal, human touch to the transaction. | Optional |
| Return Policy / Terms | Manages customer expectations and legal liability. | Optional |
| QR Code to Website/Survey | Engages the customer and gathers valuable feedback. | Optional |
Focus on the "Essential" and "Highly Recommended" fields first. Once you have those locked in, you can add the optional elements to further enhance the customer experience.
Adding a Few Final Touches
Finally, think about what small additions could make a big difference. A simple "Thank you for your business!" in the footer can go a long way in making customers feel appreciated. You could also add your business hours, a brief return policy, or even a QR code that links to your website or a satisfaction survey.
These little extras elevate a simple receipt from a transaction record to a communication tool, helping you build a stronger relationship with your customers long after they’ve walked out the door.
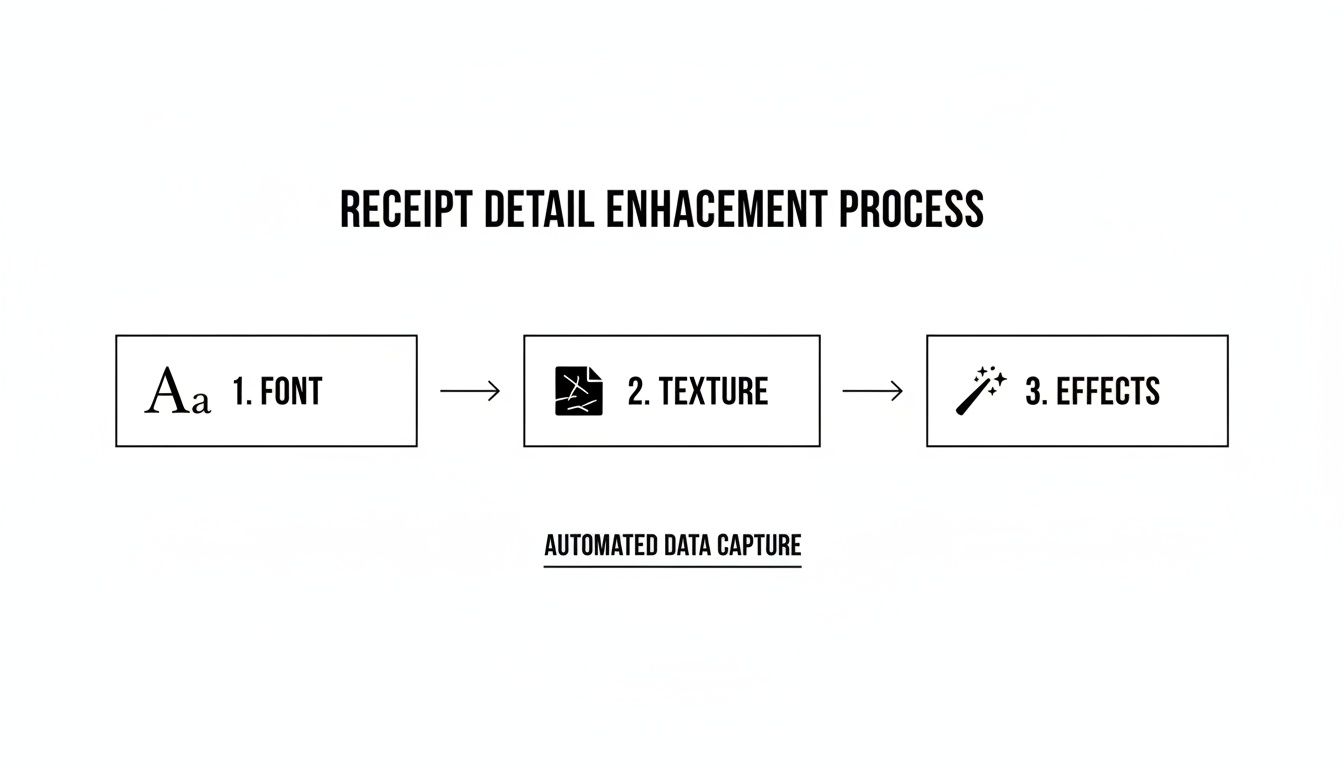
Adding Realistic Details for an Authentic Look
Once you've plugged in all the core information, it's time to focus on the small details that make a receipt look truly authentic. This is the step that takes a basic printable receipt template free of charge and turns it into something that looks like it just came out of a real cash register.
These finishing touches are crucial if you're trying to replicate a lost receipt accurately or create a believable prop for a film or play.
Get the Font and Print Effects Just Right
Think about the last receipt you got from a corner store. It probably wasn't printed in a standard font like Arial or Times New Roman, was it? The font choice is one of the biggest giveaways of a generated receipt.
For that genuine feel, you'll want to find a font that looks like it came from a dot-matrix or thermal printer. These fonts often have that slightly pixelated, blocky, or even imperfect look that immediately feels more real.
Many receipt-making tools let you go even further by simulating the paper and print quality. Real receipts aren't printed on crisp, bright-white office paper. They're usually on thin, sometimes grayish thermal paper that might have a few wrinkles.
Look for settings that let you add effects like:
- Paper Textures: A subtle grain or texture can make the background look less like a blank digital page and more like actual receipt paper.
- Creases and Folds: Adding a few faint lines can make it look like the receipt was folded and tucked into a wallet.
- Thermal Print Fade: Many thermal receipts fade over time. A slight fade effect can add a huge dose of realism.
These details might seem small, but they add up to create a much more convincing final product.
The goal isn't to make the receipt look old or damaged, but to disrupt the perfect, sterile look of a document created on a computer. A little bit of controlled imperfection is what makes it look genuine.
Why Do These Details Matter?
Imagine you're a small business owner who occasionally needs to issue a manual receipt for a cash sale. Handing over a document that looks like a professional point-of-sale printout, complete with a thermal font and slight texture, just looks more professional than something printed in Times New Roman on bright white paper.
Or, consider a software developer who's building an expense-tracking app. They need to test their app's scanning feature (often called OCR, or Optical Character Recognition). Feeding it generic, perfectly clean receipts won't cut it. To really put the software through its paces, they need to generate receipts with the same kinds of fonts, layouts, and minor imperfections found in the real world.
Mastering these appearance settings bridges the gap between a simple record of a transaction and a document that looks and feels completely authentic. It gives you the power to create a printable receipt that fits any scenario you can think of.
Printing and Exporting Your Finished Receipt
You've done the hard work of picking a template and dialing in all the details. Now, let’s get that receipt out of the editor and into a format you can actually use. This last step is all about making sure your creation looks just as good on paper or as a digital file as it does on your screen.
PDF vs. PNG: Picking the Right Format
The first decision you'll make is whether to save your receipt as a PDF or a PNG. They might seem similar, but they're built for very different jobs.
- PDF (Portable Document Format): Think of PDF as the gold standard for printing. It locks in your layout, fonts, and images, so the printed version is an exact match of what you designed. This is what you want for a physical copy.
- PNG (Portable Network Graphics): This format is your go-to for anything digital. If you need to email the receipt, upload it to an expense tracker, or just save it as an image, a PNG gives you a crisp, high-quality picture.
My Two Cents: I always export as a PDF for printing—no exceptions. It avoids any weird formatting surprises. For digital records, PNG is great because it’s universally compatible with just about any app or software.
Getting the Print Settings Just Right
Printing a receipt isn't always as simple as hitting a button. The type of paper you’re using, whether it's a standard sheet or a narrow thermal roll, completely changes the game. A bad print job can make even the most professional-looking printable receipt template free of charge look sloppy.
This is where the final touches, like font choice and texture, really pay off.
As you can see, a few quick adjustments before you print can make all the difference in creating a truly authentic-looking document.
Standard Paper vs. Thermal Rolls
For standard 8.5" x 11" letter paper, things are pretty straightforward. You can usually just print your PDF at 100% scale and you're good to go.
But if you're aiming for that classic point-of-sale look on a narrow 80mm (or sometimes 58mm) thermal roll, you need a different strategy. You can't just shrink a full-page design; the text will become a blurry, unreadable mess.
The key is to start with a template specifically designed for thermal printers. Good receipt-making tools will have these pre-formatted, so all you have to do is fill in your details. Even then, I always recommend running a quick test print to make sure everything lines up perfectly before you print the real thing.
Ethical Use and Troubleshooting Your Receipt
A free receipt template is a fantastic tool when you need to keep your records straight. The most common—and totally legitimate—reasons people use them are to replace a genuinely lost or damaged receipt for an expense report or to create professional-looking documentation for their small business.
Think of a freelancer getting paid in cash who needs to give their client a proper record of the transaction. Or maybe a filmmaker who needs realistic-looking props for a scene. These are perfect, ethical uses.
What you should never do is create a receipt for fraudulent reasons. Trying to deceive an employer, commit tax fraud, or falsify records in any way is illegal and can get you into serious trouble. Always use these tools responsibly and within the bounds of the law. If you're curious about the nuances, you can find a good breakdown on making replica receipts for legitimate purposes.
Solving Common Glitches
Even the most straightforward tools can have their quirks. If you hit a snag while making your receipt, don't worry—the fix is usually pretty simple.
Key Takeaway: Most printing or display issues come down to either the wrong file format or a low-resolution logo. The first thing you should always check are your export settings and the quality of the image you uploaded.
Here are a few common problems and how to solve them:
My Logo Looks Fuzzy or Pixelated: This is a classic sign of a low-resolution image file. To get that crisp, professional look, you need to start with a high-quality file. Use a PNG or JPEG that's at least 300 pixels wide. A PNG with a transparent background usually looks best.
Can I Save My Progress? Most free receipt makers that don't require a signup are session-based. That means once you close that browser tab, your work is gone for good. If you think you'll need to come back and edit the receipt later, it's worth finding a tool that lets you create a free account to save your templates.
The Text is Blurry When I Print: This one is almost always a printer setting issue, not a problem with the receipt itself. Make sure you're printing from a PDF file, as it handles text better than an image file like a PNG. Then, in your printer settings, look for an option that says "Actual Size" or "100% Scale." You want to avoid "Fit to Page," which can stretch and distort the text.
Got Questions? We've Got Answers
Even the most straightforward tools can leave you with a few questions. Let's tackle some of the common ones that pop up when people start creating their own printable receipts.
Can I Save a Receipt to Edit Later?
That really depends on the specific generator you're using. Many of the free, no-login-required tools are one-and-done; once you close that browser tab, your work is gone for good.
If you need the ability to save and come back to your receipts, you'll want to find a service that offers a free account. This feature lets you keep a record of your work and make changes whenever you need to.
Why Does My Logo Look Blurry or Pixelated?
A fuzzy logo is almost always a sign that the image file you uploaded is too small or low-quality. To keep your branding looking sharp and professional, you need to start with a good source file.
For the best results, stick to these guidelines:
- Use a PNG or JPEG file.
- Make sure the image is at least 300 pixels wide.
- A PNG with a transparent background usually looks the cleanest and blends seamlessly into any receipt design.
A crisp, clear logo is one of those small details that makes a huge difference in how professional your receipt feels. It’s always worth taking an extra minute to find the right file.
Is It Actually Legal to Create a Replacement Receipt?
Yes, it's completely fine to create a replacement for a legitimate receipt that was lost or damaged, especially for things like expense reports. The crucial factor here is your intent. As long as the information on the receipt is accurate and you aren't creating it to mislead anyone or commit fraud, you're in the clear.
It's also a perfectly legitimate way for small business owners to provide professional-looking documentation for their transactions.
Ready to create a professional receipt in seconds? With over 100 templates for any industry, Receipt Maker lets you customize, print, and export high-quality receipts effortlessly. Try Receipt Maker for free and see how easy it is.