How to Make Receipts That Look and Feel Authentic
Learn how to make receipts for any scenario, from expense reports to film props. This guide covers templates, customization, and ethical use cases.
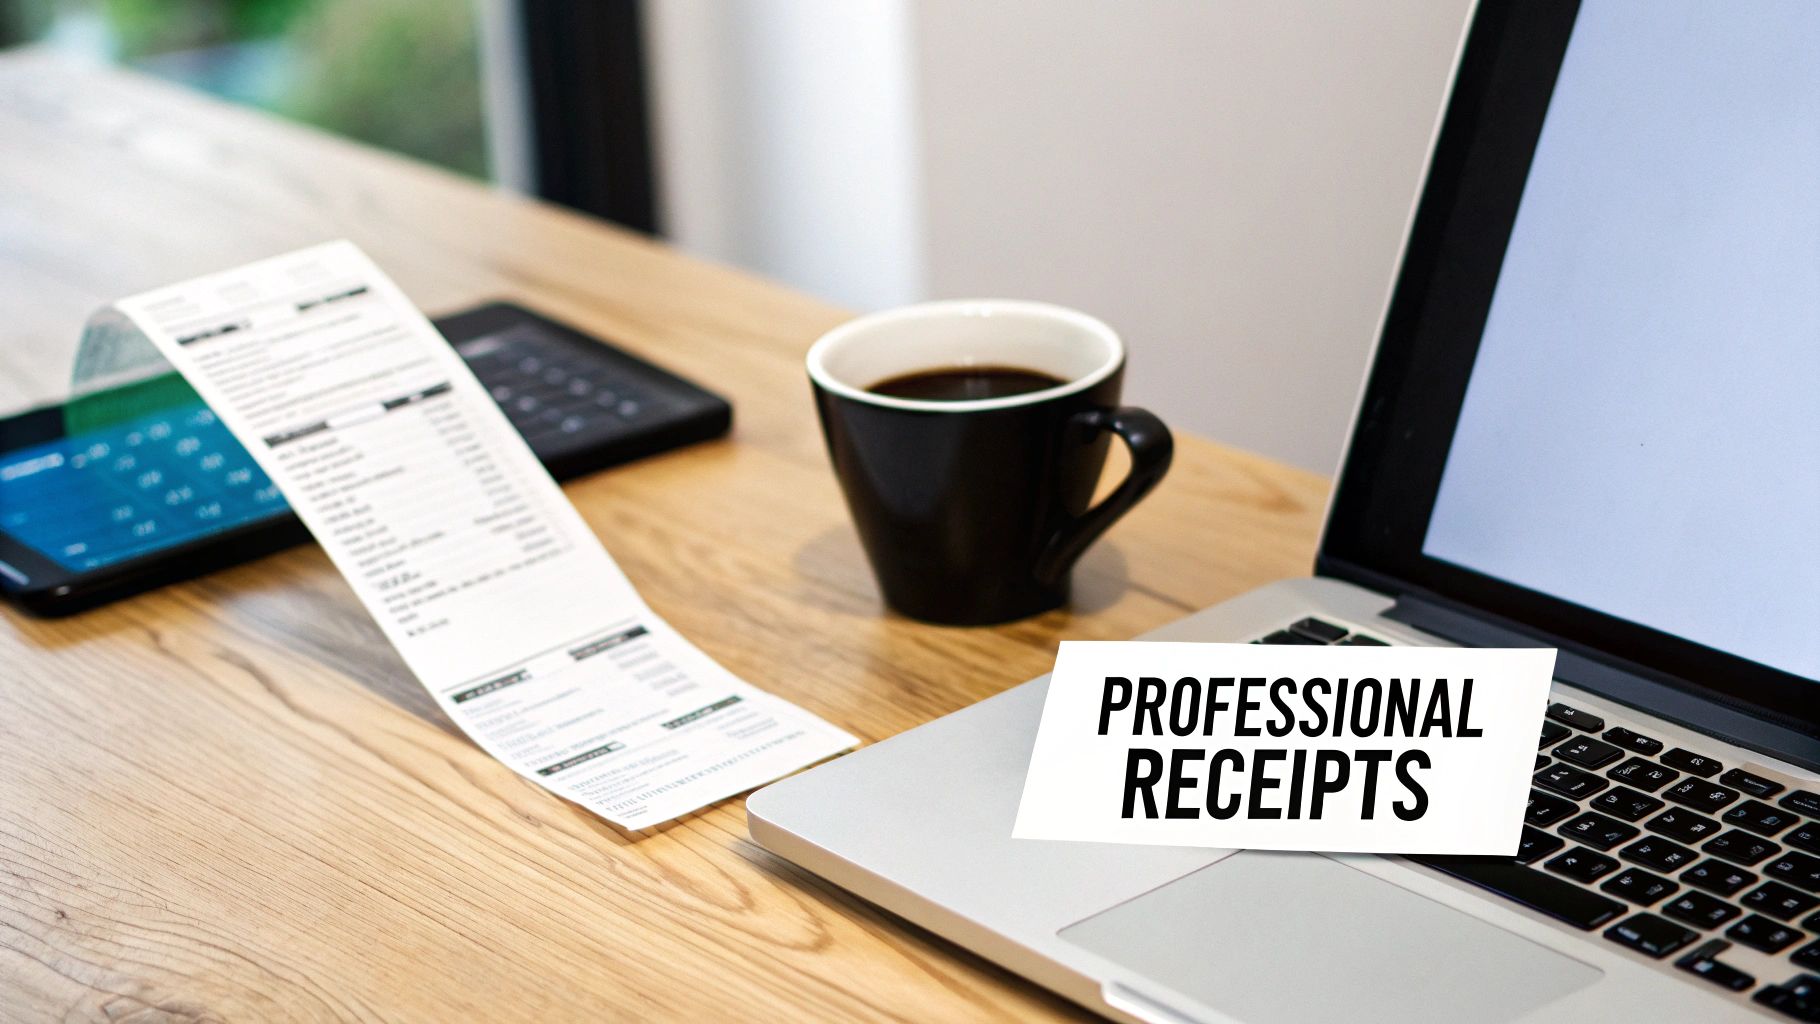
Making a receipt doesn't have to be a complicated affair. With a good online tool, you can choose a template, fill in the details, and have a professional-looking document ready to go in just a few minutes. This simple approach means you can skip the headaches of complex design software and still get an accurate, authentic-looking receipt every time.
Why Professional Receipts Matter
In any business, paperwork is king. A clean, professional receipt is much more than just a piece of paper confirming a transaction—it's a direct reflection of your brand's credibility.
I've seen it time and again. A freelancer needs to submit an expense report, a small business owner has to replace a lost invoice for a client, or even a filmmaker needs a realistic prop for a scene. In all these cases, knowing how to generate a proper receipt is an essential skill. It keeps you compliant, makes bookkeeping a breeze, and builds trust with everyone you work with.
The entire process really boils down to three simple phases.
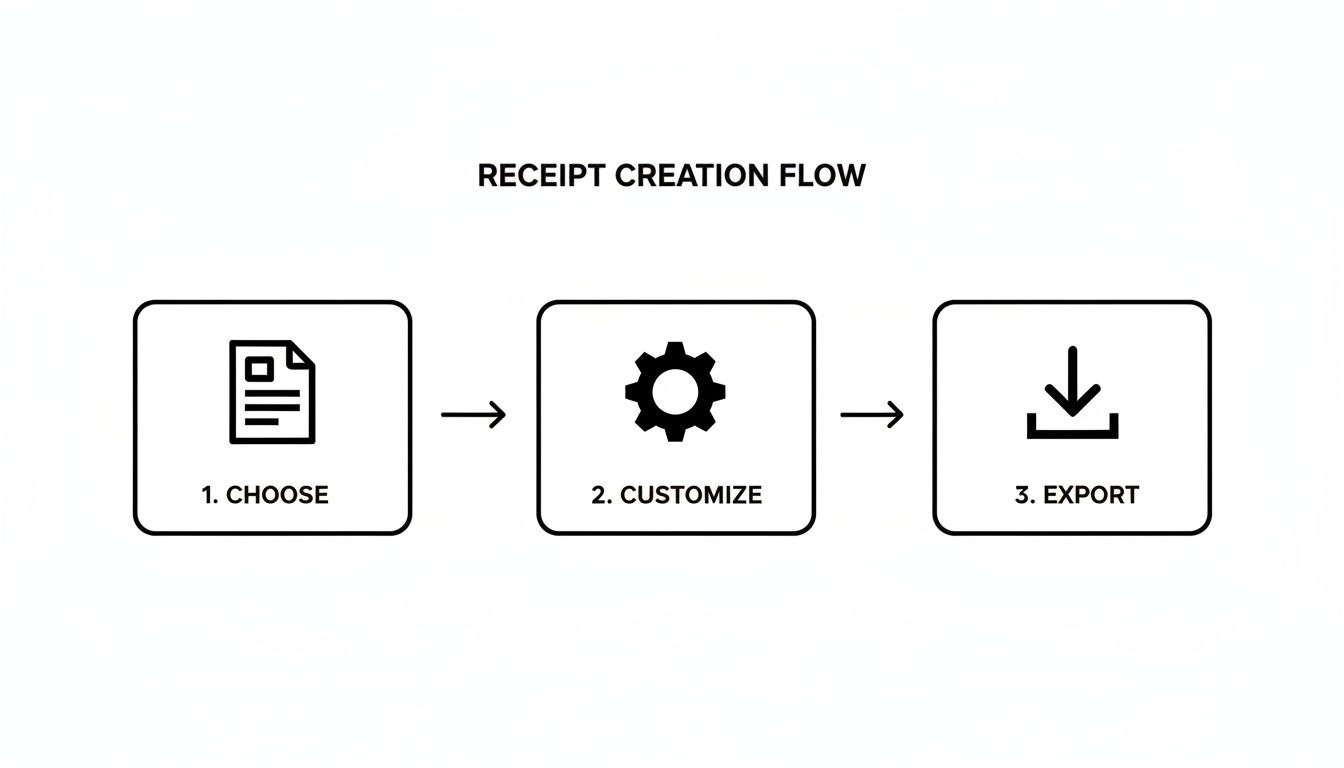
This workflow is what makes modern tools so accessible. You don't need to be a tech wizard to get it right.
The move to digital receipts isn't just a passing fad; it's a huge economic shift. The global market for digital receipts was valued at around $1.732 billion USD and is expected to explode to $9.145 billion USD by 2035. This boom is driven by a push for eco-friendly practices and the incredibly useful data that digital records can provide.
A well-crafted receipt does more than just record a sale. It reinforces professionalism, provides critical data for financial tracking, and ultimately saves you time and administrative headaches down the line.
Key Benefits of Creating Your Own Receipts
Taking control of your receipt creation offers some very real, practical advantages that can smooth out your day-to-day operations. You get instant control over your documents without having to wait for someone else to send an original.
Here are a few of the biggest perks:
- Speed and Efficiency: Need a receipt? You can generate one in minutes, right when you need it.
- Customization and Branding: It’s easy to add your own logo and business details, keeping everything consistent with your brand.
- Accuracy: You can double-check every detail yourself, from individual line items to tax calculations, ensuring everything is spot-on.
- Versatility: These aren't just for sales. You can create documents for expense reports, client invoices, or even creative projects.
Using a dedicated online receipt maker puts the power to produce these vital documents right at your fingertips. This guide will walk you through the whole process, from finding the perfect template to tweaking every last detail for a flawless result.
Choosing the Right Receipt Template
The secret to a truly convincing receipt isn't just getting the numbers right—it all starts with the template. This is about more than just looks; it's about speaking the visual language everyone expects from a particular type of business.
Think about it. A receipt from a fancy steakhouse looks and feels completely different from a slip you get at the gas pump or the email confirmation from your Uber ride. Starting with a solid template saves you a massive headache and makes your final receipt instantly feel authentic. Picking the wrong one is a dead giveaway that something is off.
Matching Templates to Real-World Scenarios
Every transaction tells a story, and the receipt's layout needs to match it. A standard retail store receipt, for example, is all about the details. It needs clean columns for item names, SKUs, quantities, and prices.
Beyond that, you'll need dedicated space for the store’s return policy, a scannable barcode, and maybe even the business hours. On the other hand, an invoice from a freelance designer has a totally different focus. That layout needs to highlight project descriptions, hourly rates, and the total time billed.
Here’s a quick guide to pairing the right template with the right job:
- Retail and E-commerce: Find a template with clear line-item columns, a spot for a tax ID number, and a footer area for store policies.
- Restaurants and Cafes: These almost always include a tip line, a breakdown of food vs. drink, and sometimes even a table or order number.
- Gas Stations: Simplicity is everything here. Look for fields covering fuel type, gallons (or liters), and price per gallon.
- Professional Services: Perfect for consultants or contractors, these templates should have plenty of room for detailed service descriptions and billable hours.
Key Details That Define a Good Template
As you browse your options, pay attention to the little things. A great template doesn't just have the right fields; it puts them in the right order. Any restaurant receipt template worth its salt will have the subtotal, tax, and grand total stacked neatly at the bottom, right above the payment details.
The goal is to choose a template that requires minimal structural changes. When the layout already matches your industry's conventions, you can focus your energy on customizing the details rather than rebuilding the entire document.
This is exactly why having a deep library to pull from is a game-changer. When you're just learning how to make receipts, exploring a solid collection of professional receipt templates helps you find the perfect jumping-off point for just about any situation.
When to Consider a Custom Layout
Let's be honest: pre-made templates will cover 99% of what you need. But for that rare 1%, a custom layout is the way to go. If you're documenting a really unusual transaction that doesn't fit any standard mold, starting from scratch gives you total freedom.
This might come up for something like a complex service agreement with multiple parts or a sale involving non-standard units. In those edge cases, building your own receipt lets you add, remove, and reposition every single element to fit your exact needs, ensuring everything is crystal clear.
Customizing Every Detail for Authenticity
Alright, you’ve picked a template that looks right for your industry. Now for the fun part. This is where you breathe life into that generic layout and turn it into a convincing record of a real transaction. Nailing the details is everything when you're learning how to make receipts that look and feel completely genuine.
Let’s begin by laying the groundwork—the stuff that establishes legitimacy right off the bat.
Building Your Business Identity
Before anyone even glances at the items purchased, their eyes will go to the top of the receipt. The header is your first impression, and it needs to scream "professional."
Start by dropping in your business name or logo. A sharp, clean logo instantly builds credibility. Right after that, add your business address and contact info, like a phone number or email. This isn't just filler; it's the information a real customer would look for if they had a question or needed to make a return.
Populating Transaction Specifics
With your header locked in, it's time to get into the heart of the receipt: the line items. This is the play-by-play of the sale, and accuracy is king.
Each line should detail a single product or service. Be specific. Don't just put "Coffee"—write "16oz Caramel Latte." Instead of a vague "Consulting," use "Project Management Services - 4 Hours." When you get specific, you eliminate any doubt and make the receipt far more believable.
For every item, you'll need to fill in:
- Quantity: How many units were bought.
- Unit Price: The cost for one single item.
- Total Price: The quantity multiplied by the unit price.
Thankfully, most receipt-making tools do the math for you. This is a huge help, as a simple calculation error is a dead giveaway that something's off.
I see this mistake all the time: people use descriptions that are way too generic. A real receipt from a hardware store wouldn't just say "Tools." It would list "DeWalt 20V Cordless Drill," "3-inch Drywall Screws (1lb Box)," and "Stanley 25' Tape Measure." The details are what sell it.
Also, don't forget to factor in any discounts. Whether it was a percentage-off sale or a flat dollar amount, showing discounts properly reflects a realistic transaction.
To help you get this right, here’s a quick breakdown of the most important fields you’ll be working with. Think of these as the non-negotiables for a professional-looking receipt.
Key Receipt Fields and Their Purpose
| Field Name | Purpose and Best Practices | Example Use Case |
|---|---|---|
| Business Logo/Name | Establishes brand identity and credibility. Use a high-resolution image for a professional look. | A coffee shop prominently displays its logo at the top center of the receipt. |
| Contact Information | Provides necessary details for customer service, returns, or inquiries. Include address, phone, and email. | A retail store lists its physical address and customer service hotline in the header. |
| Itemized List | Details each product or service sold. Use clear, specific descriptions instead of generic terms. | An electronics store receipt lists "Apple AirPods Pro (2nd Gen)" instead of just "Headphones." |
| Quantity & Unit Price | Shows the number of items and the cost per item, providing a clear breakdown of charges. | A grocery receipt shows "3 x Organic Avocados @ $1.99." |
| Subtotal | The total cost of all items before any taxes or discounts are applied. | The sum of all listed items comes to $85.50. |
| Tax/VAT | Displays the sales tax or Value Added Tax. The rate must be accurate for the transaction's location. | For a purchase in Los Angeles, a 9.5% sales tax is calculated and shown as a separate line item. |
| Grand Total | The final, all-inclusive amount the customer paid. This should be the most prominent figure. | After tax, the final bill is $93.62, which is printed in bold. |
| Payment Method | Confirms how the bill was settled (e.g., cash, credit card). Adds a layer of transactional proof. | The receipt states "Paid via VISA **** 1234" to confirm a credit card payment. |
Getting these fields right is the core of creating a receipt that not only looks official but also provides a clear, understandable record for both the business and the customer.
Handling Financial Calculations Correctly
Let's talk about the numbers that can easily trip you up: taxes and totals. A miscalculated tax is a massive red flag. Sales tax or Value Added Tax (VAT) can vary wildly from one place to another, so you absolutely have to use the correct rate for where the transaction happened.
For instance, if you're making a receipt for something bought in Los Angeles, you'll apply the current local sales tax rate of 9.5%. But if that purchase was in London, you'd be calculating VAT, which is typically 20%. Good receipt makers let you plug in these percentages yourself, so the final math is always spot-on.
The calculation flow should be clean and logical:
- Subtotal: The sum of all items before taxes.
- Tax: The sales tax or VAT calculated on the subtotal.
- Grand Total: The final amount paid.
This standard sequence is what people expect to see, and it builds confidence in the document. This kind of accuracy is especially vital in industries like tourism, where transactions are constant and cross borders. To put it in perspective, global tourism receipts are expected to hit about $1.9 trillion USD. That incredible volume, spread across countless currencies and tax systems, shows just how important it is to have tools that can handle these details correctly. If you're curious, you can learn more about global tourism revenue projections to see the scale of it all.
Finalizing Payment and Adding Optional Details
The last piece of the puzzle is showing how the customer paid. It’s a small detail, but it adds a huge dose of realism. Was it cash? Credit card? A digital wallet like Apple Pay?
A solid receipt will name the payment method and often show the last four digits of the credit card, like "Paid via VISA **** 1234." This confirms the transaction is complete and serves as a clear record for anyone doing the books.
Finally, think about adding some optional but powerful finishing touches. A QR code that links to your website, a custom message in the footer with your return policy, or even a simple "Thank you for your business!" can make the receipt feel polished and professional. These little flourishes are often what separate a passable receipt from one that’s truly indistinguishable from the real thing.
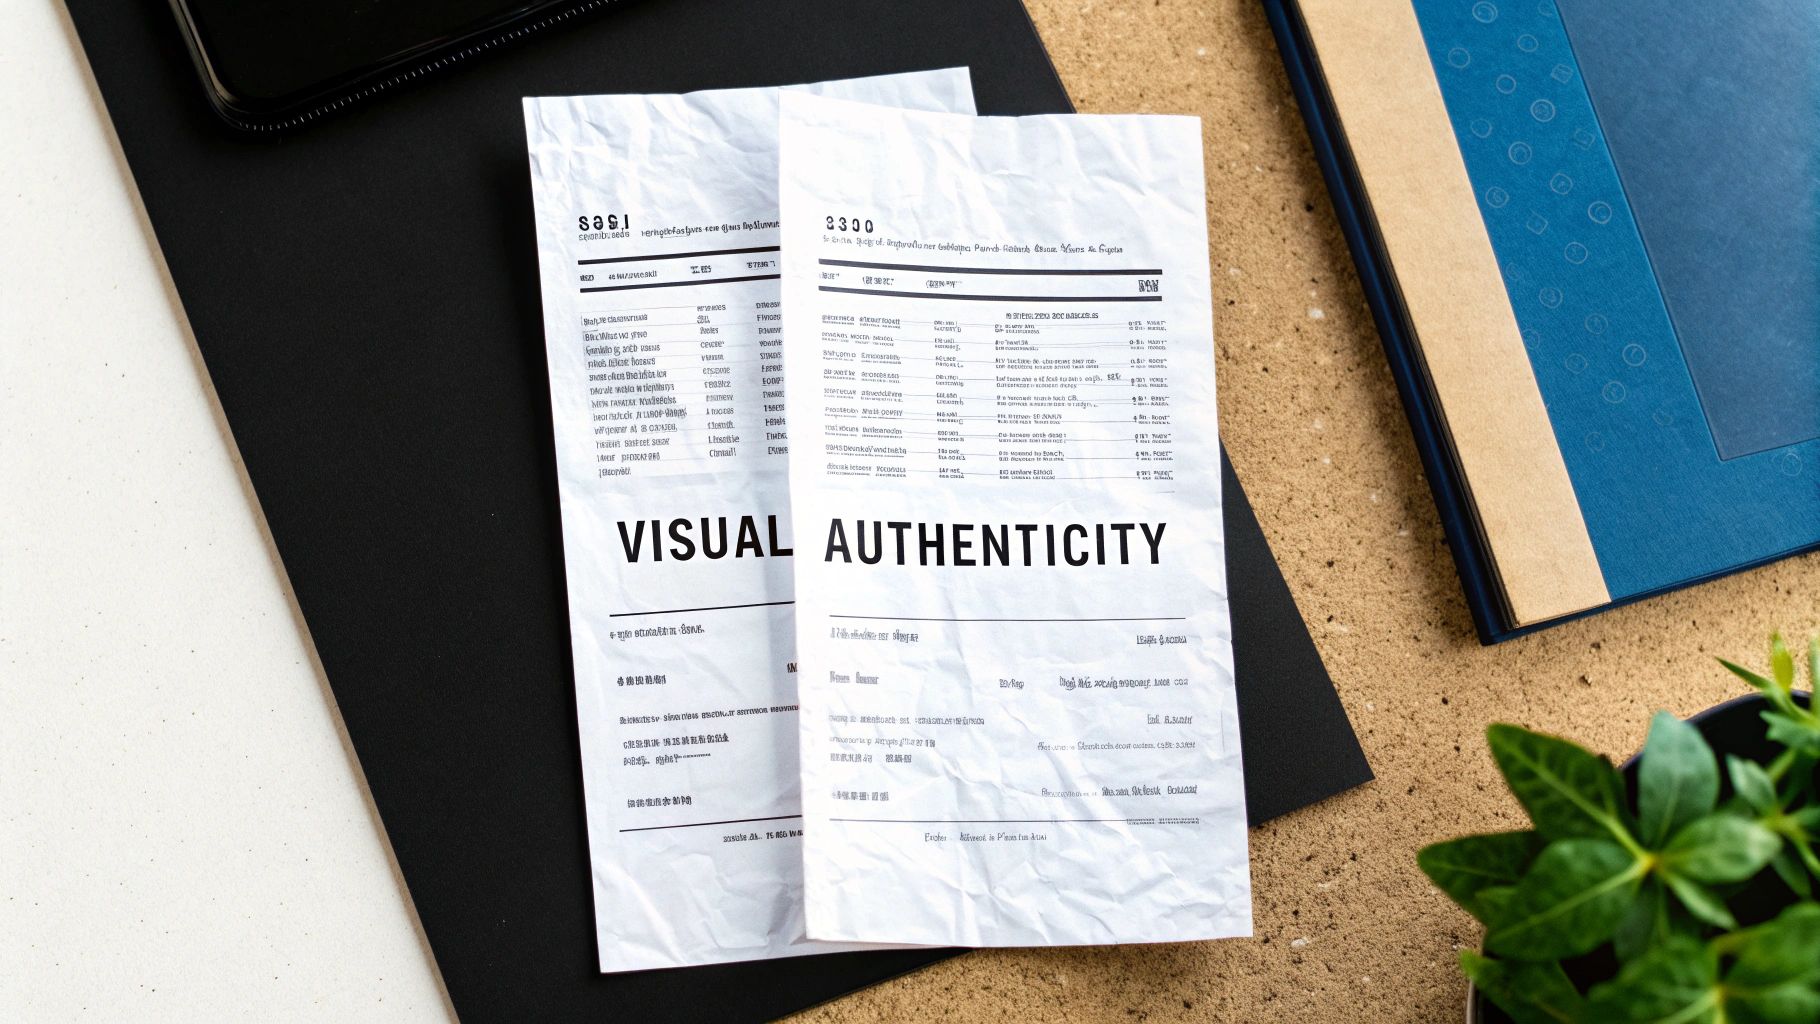
Perfecting the Visual Look and Feel
Getting the numbers and text right is only half the battle. If a receipt looks wrong, it is wrong. The final piece of the puzzle is dialing in the visual details to create something that feels completely authentic.
This is where you move from just inputting data to telling a story. These small stylistic choices are what separate a generic file from a document that's truly believable, whether you're replacing a lost expense record or creating a prop for a film.
Choosing the Right Typography
The font you pick has a massive impact on a receipt’s credibility. It’s a subtle but powerful clue that instantly tells you where the receipt might have come from. A sleek, modern font might work for a tech startup's email invoice, but it would stick out like a sore thumb on a receipt from a greasy-spoon diner.
So, think about the business you're trying to replicate.
- Thermal Printer Fonts: For most retail stores, gas stations, and restaurants, this is your go-to. Those slightly pixelated, imperfect fonts immediately scream "point-of-sale machine."
- Classic Serif Fonts: Think Times New Roman or Courier. You'll often see these on more formal invoices or receipts printed from standard desktop software. They just feel more traditional and professional.
- Modern Sans-Serif Fonts: Clean fonts like Arial or Helvetica are the standard for digital receipts from online retailers or service providers.
Matching the font to the business type is probably the single most important visual trick. Get this wrong, and the receipt will feel off before anyone even reads the line items.
Applying Realistic Paper and Print Effects
Let's be honest, real-world receipts are rarely pristine. They live in wallets, get crumpled in pockets, and are printed on all sorts of paper. A good receipt maker lets you mimic these real-world imperfections to add a whole new layer of realism.
Paper texture is a fantastic place to start. A perfectly crisp white background is fine for a brand-new receipt. But what if you're recreating one from last month? Applying an aged, off-white, or even a crumpled texture makes it look like it’s been through the wringer.
The most convincing receipts are the ones with subtle flaws. A slightly faded thermal print effect or a faint paper crease makes the document feel tangible, even when it’s just a digital file.
This is all about building a narrative. Is this receipt for a purchase made five minutes ago, or was it just discovered at the bottom of a backpack? These visual effects help tell that story.
The Impact of Subtle Adjustments
Tiny changes can make a world of difference. For instance, the print quality on a real thermal printer is never consistent. Some are dark and bold, while others are faint and a bit blurry. The best tools let you adjust the thermal print effect to give you precise control over that nuance.
Let's look at how these choices play out in two different situations:
| Visual Element | Scenario A: Movie Prop | Scenario B: Expense Report |
|---|---|---|
| Font Choice | A pixelated thermal font to look like it came from a cheap cash register on set. | A clean, classic Courier font for a professional service invoice. |
| Paper Texture | A crumpled and aged texture to imply the character has carried it for weeks. | A clean, crisp white background to look freshly printed for a corporate submission. |
| Print Effect | A slightly faded thermal effect to suggest an old, worn-out printer. | A sharp, dark print to ensure every detail is perfectly legible for accounting. |
As you can see, the context drives every decision. To get a better feel for how all these elements come together, it’s worth checking out some real-world receipt examples for inspiration. Nailing these small but critical details is the key to creating a receipt that’s not just accurate, but completely believable.
Finalizing and Using Your Created Receipt
You’ve put in the work, carefully choosing a template and tweaking every little detail to make your receipt look authentic. Now comes the final, crucial part: putting it to use. Exporting, saving, and printing are what turn that design on your screen into a document that actually does its job.
How you export your receipt really depends on what you need it for. There's no single "best" option; picking the right format is what makes sure your receipt functions exactly as you intended.
Selecting the Best Export Format
The biggest choice you'll make here is between a digital image and a print-ready document. Each one is built for a different purpose.
PNG or JPEG for Digital Use: Need to pop the receipt into an email, add it to a presentation, or use it on a website? PNG is probably your best bet. It’s a lightweight format that looks crisp and clean on screens.
PDF for Professional Documents: For nearly any serious business use—like submitting an expense report or attaching proof of purchase—the PDF is the undisputed king. It’s a universal standard that looks professional, is tough to alter, and prints out perfectly every time.
Now, if you're going for maximum realism, especially for a retail or restaurant receipt, there’s one more layer to consider. Exporting a PDF that’s specifically formatted for 80mm thermal rolls is a total game-changer. This ensures the dimensions are spot-on for a standard point-of-sale thermal printer, giving you that classic, crinkly, long-strip receipt.
The sheer volume of daily transactions shows why having a good receipt system is so important. In just the first two months of a recent year, international visitors spent over $43.9 billion in the U.S., which breaks down to an average of $745 million a day on things like food and lodging. Each of those sales generated a receipt, highlighting why businesses need an efficient way to manage them. You can check out more details about international visitor spending on trade.gov.
Creating Smart Workflows for Efficiency
If you’re just making one receipt, you can download it and call it a day. But what if you’re billing the same client every month, or constantly logging similar expenses for your business? Starting from scratch each time is a massive time-waster.
This is where a simple workflow can save you a ton of hassle. By signing up for a free account, you can save your customized templates, turning your one-off project into a reusable asset.
Instead of re-entering your business logo, address, and tax information every time, you can simply duplicate a saved receipt. Just update the line items and date, and you're done in seconds.
This strategy is a lifesaver for freelancers and small business owners. It's not just about saving time; it's about making sure every receipt you issue maintains a consistent, professional look and feel.
A Quick Checklist for Perfect Printing
Finally, if a physical copy is your end goal, a few quick checks will make sure it looks as good on paper as it did on screen. Before you hit "Print," just run through this list:
- Pick the Right Paper Size: Jump into your printer settings and choose the correct paper—whether that’s a standard letter/A4 or the specific thermal roll size.
- Check the Scale: Make sure any "Scale to Fit" setting is either turned off or locked at 100%. This stops your printer from accidentally shrinking or stretching the layout.
- Always Preview: Use the print preview function. It's your last, best chance to catch any weird formatting issues before you waste ink and paper.
A Word on Ethics and Smart Uses
Having a tool that lets you create a receipt on demand is incredibly powerful. But with that power comes a serious responsibility. It's crucial to remember these tools are built for legitimate, honest purposes—not for pulling a fast one. Using them correctly is all about maintaining your integrity and, frankly, staying out of trouble.
The golden rule is simple: a receipt must always reflect a real transaction. The moment you stray from that, you're heading into very murky, and potentially illegal, waters.
When It's Okay to Make Your Own Receipt
So, what are the legitimate reasons? You'd be surprised how often they come up in everyday business and personal life. The key is that you're always creating an accurate record, not inventing a fantasy.
Think about the classic scenario: you're a consultant who just took a client out for a coffee, paid in cash, and the little thermal paper receipt is now lost to the wind. Recreating that receipt with the correct date, amount, and details for your expense report is a perfectly valid use case. You're just replacing a lost document for a real expense.
Here are a few other common and perfectly acceptable situations:
- For Software Devs & Testers: If you're building an accounting app or a new point-of-sale system, you need tons of sample data. Generating a batch of realistic-looking receipts is essential for testing your software's functionality without touching sensitive customer info.
- For Creatives: Ever wonder where the props department gets those authentic-looking receipts you see in movies or plays? They often create them. It’s all about adding a layer of realism to the scene.
- For Education: Business and accounting students can learn a ton by creating and analyzing receipts. It's a hands-on way to understand financial documents in a safe, academic setting.
Here's the real test: ask yourself about your intent. If you're trying to accurately document something that actually happened for a legitimate reason, you're in the clear. If your goal is to mislead someone, you've crossed the line.
Red Lines: What You Must Never Do
The boundary between legitimate use and outright fraud is crystal clear. Never, ever create a receipt for a purchase that didn't happen. Don't inflate the numbers on a real purchase, and don't falsify details to deceive your boss, a client, or the tax authorities.
This is a hard "no" on things like:
- Making up expenses to get a bigger reimbursement from your company.
- Creating a fake receipt to claim a tax deduction you aren't entitled to.
- Generating false proof of purchase to make a bogus warranty claim.
These actions aren't just unethical; they can have serious consequences. We're talking about getting fired, facing legal action, and doing permanent damage to your professional reputation. Always stick to the terms of service of whatever tool you're using—they all strictly forbid fraud. By respecting these boundaries, you can use receipt makers for what they’re meant for: creating honest, accurate, and professional records.
Got Questions? We’ve Got Answers.
Jumping into any new tool can bring up a few questions, even one as straightforward as a receipt maker. Let's tackle some of the most common ones I hear from users, so you can get back to creating what you need with confidence.
Can I Save My Receipts to Edit Later?
You absolutely can. While you can always whip up a quick one-off receipt without an account, I highly recommend signing up for a free profile. This unlocks the ability to save your custom templates, which is a total game-changer for anyone who creates receipts regularly.
Think about it: if you bill the same client every month, why start over every time? Just save your template, duplicate it, and change the date and a few line items. It's not just about saving time—it’s about keeping everything consistent and looking professional, every single time.
Are These Receipts Actually Legally Valid?
This is a big one, and the answer comes down to one thing: honesty. A receipt's legal standing is all about whether it reflects a real transaction.
If you’re just recreating a lost receipt for a legitimate purchase to file an expense report, you're in the clear. The document is simply a stand-in for the original proof of purchase.
But here’s the critical part: creating a receipt for a transaction that never happened is fraud. Plain and simple. The tool gives you the power to make a professional document; using it ethically is entirely on you.
What’s the Best Format to Download a Receipt In?
The "best" format really just depends on what you plan to do with the receipt. Each one is designed for a specific job, so picking the right one is key to making sure it looks and works as intended.
Here’s my quick guide to choosing the right file type:
- PDF for Professional Use: This is your go-to for anything official. Think expense reports, client invoices, or any formal record-keeping. PDFs are universally compatible and always look sharp.
- PNG or JPEG for Digital Sharing: Need to drop the receipt into an email, a slide deck, or a website? An image format like PNG or JPEG is perfect. They’re lightweight and look great on screen.
- Optimized PDF for Thermal Printing: If you're aiming for that classic, printed-at-the-register look, this is the one you want. This option formats the PDF specifically for 80mm thermal paper, so the dimensions are spot-on for a point-of-sale printer.
Getting this final step right ensures your receipt is perfectly suited for its purpose.
Ready to create a polished, professional receipt in just a few clicks? Receipt Maker provides all the templates, customization tools, and export options you need. Try it for free today!