How to Create a Receipt Online: A Quick Guide for Professionals
Learn how to create a receipt online with templates, fill details, and customize for professional results.
Learning how to create a receipt online is surprisingly simple. You just need a good online tool, a few minutes to pick a template, plug in the transaction details, and then you can export a professional-looking PDF or image. It’s a fast, clean way to create a trackable record for your business, manage expense claims, or even make props for creative projects.
Why You Should Be Creating Receipts Online
Let's be honest, nobody misses digging through a shoebox for a faded, crumpled piece of paper. Moving to online receipts has become the standard for smart freelancers, small business owners, and creative professionals. It's not just about looking good; it's about being efficient. A digital receipt gives you a clean, organized, and professional way to document every transaction, which goes a long way in building a polished brand image and making bookkeeping less of a headache.
This shift isn't just a small trend—it's a massive market movement. Think about it: 75% of consumers worldwide now prefer digital receipts simply because they're more convenient. This preference is driving the market toward a projected $5.1 billion by 2033. The takeaway here is that offering a digital option isn't just a nice-to-have anymore; it's what your customers and clients expect. You can dive deeper into the numbers by checking out the digital receipts market research.
The Real-World Benefits of Going Digital
Switching to an online receipt maker brings a handful of immediate, practical advantages for anyone who needs to document a transaction. It’s not just about saving a few trees; it’s about making your workflow much, much smarter.
Here are the biggest wins I've seen firsthand:
- Look More Professional: A sharp, well-designed digital receipt instantly reinforces your brand identity. It tells clients you’re organized and serious about what you do.
- Make Record-Keeping a Breeze: Digital files are a lifesaver. You can search them, organize them into folders, and back them up to the cloud. This simple change turns tax season from a nightmare into a manageable task.
- Eliminate Costly Errors: Handwriting receipts is just asking for trouble. Online tools do the math for you, automatically calculating totals, taxes, and discounts to ensure everything is spot-on.
- Get Paid and Reimbursed Faster: You can email or message a receipt the second a transaction is finished. This speeds up the entire payment and reimbursement cycle, which is always a good thing.
At its core, an online receipt generator gives you clean, accurate, and easily accessible proof of purchase. Whether you're a freelancer invoicing for a project or a filmmaker who needs a realistic prop for a scene, the end goal is a legitimate-looking document that does its job perfectly.
From billing clients to getting your expenses approved, knowing how to quickly create a receipt online is an essential skill in today's world.
Choosing the Right Receipt Template
The first real decision you'll make when creating a receipt is picking the right template. This isn't just about looks; it's about choosing a layout that makes sense for your business and is crystal clear for your customer. The right template turns a simple proof of purchase into a professional document that works for both of you.
Think about it. A freelance web developer needs to spell out project milestones and bill for hours, which is completely different from a coffee shop receipt that just needs to list a latte and a croissant. Each business needs a specific structure to be effective. When you're making a receipt online, starting with a template designed for your industry is a massive head start.
Retail vs. Service-Based Templates
Let's break down the two most common types to see why this choice is so critical. A classic retail template is built for selling physical products. You'll see columns for item names, quantities, SKUs, the price per item, and a total for each line. It’s the perfect setup for a clothing boutique that needs to track inventory and maybe add a clear return policy at the bottom.
A service template, on the other hand, is all about billing for your time and skills. Instead of product SKUs, you'll find space for service descriptions, hours worked, and your hourly rate. This is exactly what consultants, photographers, or contractors need to justify their invoice.
Choosing the right template is the first step in avoiding client confusion. A clear, appropriate layout prevents questions about charges and ensures you get paid faster by presenting information in a format the customer expects to see.
When to Use a Pre-Designed Template
Honestly, for most businesses, grabbing a pre-designed template is the way to go. It's faster, easier, and takes the guesswork out of the design. Online receipt makers offer tons of options already tailored to specific industries. You can browse a diverse collection of professional receipt templates to find a layout that fits what you do.
Here’s when a pre-made template is a lifesaver:
- Standard Transactions: For everyday sales—think cafes, retail shops, or farmer's market stalls—a standard template has everything you need, right out of the box.
- Speed and Efficiency: If you need to create a receipt on the spot, you can just plug in the details and have a PDF ready to email in minutes. No messing with spreadsheets or design software.
- Industry Compliance: Good templates are often built with industry standards in mind. A restaurant template will have a tip line, while a B2B service template will have a prominent spot for your tax ID.
Starting with a solid template provides a professional backbone for your receipt. It lets you focus on getting the transaction details right instead of sweating the small stuff like alignment and spacing, ensuring every receipt you send is polished and easy to understand.
Filling Out Your Receipt With Confidence
Once you've picked a template that fits your business, it's time to populate it with the essential details. This part is all about precision. Think of it less as a design task and more as building a clear, legal record of the transaction. Every field you fill out makes the document more professional and ensures your client knows exactly what they're paying for.
Let's walk through this with a real-world example. Imagine you're a freelance marketing consultant who just wrapped up a project. Your receipt needs to be crystal clear to avoid any back-and-forth questions. It’s the final summary of the value you delivered.
Starting with the right template is half the battle. This diagram shows a great way to think about your initial choice.
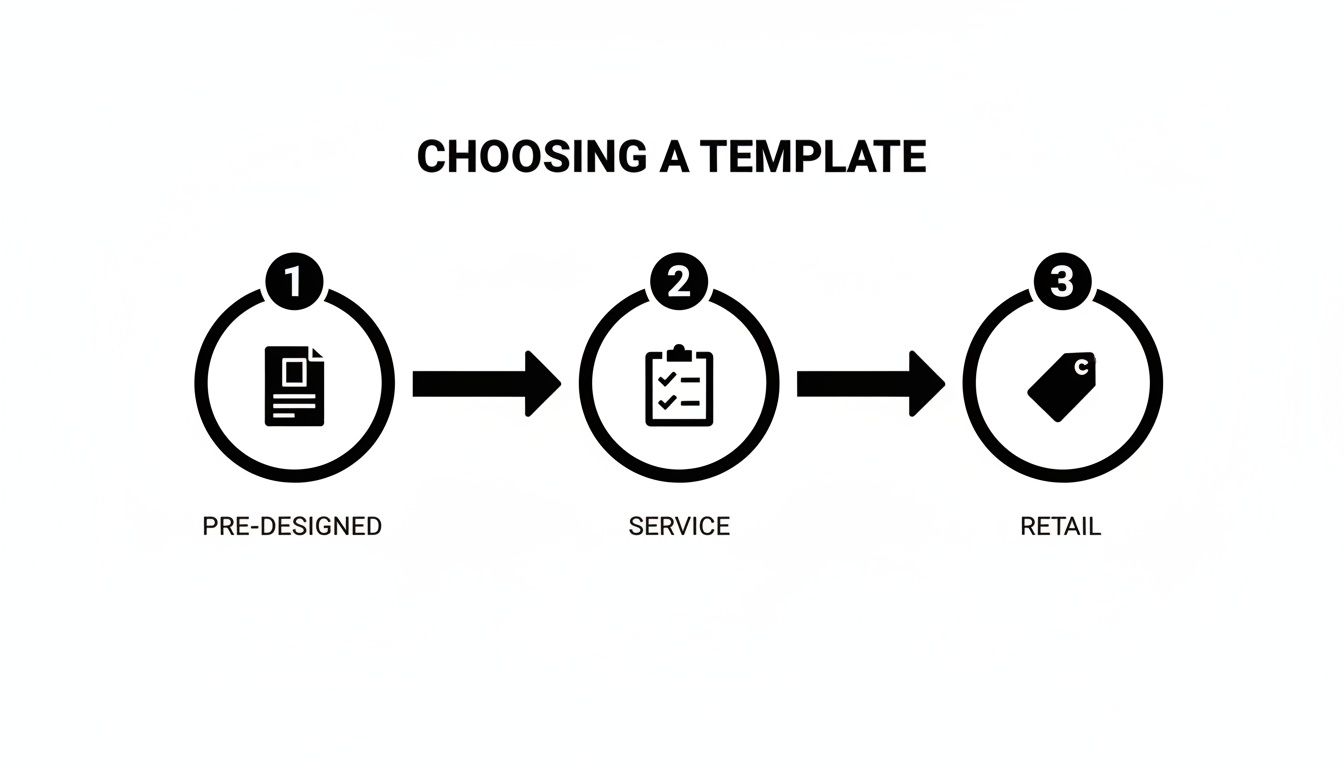
Whether you need something ready-made, service-oriented, or geared for retail sales, picking the right starting point makes everything that follows much easier.
Laying the Foundation: Business and Client Details
First up, the basics. You need to clearly state who is paying whom. It sounds obvious, but getting these details right is crucial for your bookkeeping and can save you a massive headache during a tax audit. Make sure to include your full business name, address, and contact info, along with the client's name and address.
Next, every receipt needs a unique receipt number. This is absolutely non-negotiable for proper record-keeping. A simple sequential system like "RCPT-001," "RCPT-002" works perfectly. It prevents confusion and makes finding a specific transaction down the road a total breeze. Don't forget to add the date the payment was made or the receipt was issued.
Itemizing Your Products or Services
Now for the heart of the receipt: the itemized list. Vague descriptions are your enemy here. Something like "Consulting Services" is a recipe for confusion and can even delay payment. You have to be specific.
For our freelance consultant, clear, professional line items would look something like this:
- Social Media Strategy Development: 15 hours @ $75/hour
- Competitor Analysis Report: 1 project @ $500
- Q3 Content Calendar Creation: 1 project @ $400
This level of detail shows the client exactly where their money went, which builds trust and justifies your fees. Every line item should clearly list the quantity, the unit price, and the total for that item.
Pro Tip: If you're selling physical products, always include SKU or model numbers. For services, I always recommend breaking down big projects into smaller, distinct deliverables. The more transparent you are, the faster you'll get paid.
The move toward digital documentation is a massive trend. The market for online receipt generators is actually growing at a compound annual rate of 16.33%. This shows just how many businesses are switching to these tools for efficiency. Small and mid-sized companies, in particular, are using them to cut down on the manual errors that plagued old paper-based systems. You can read more about this growth in an in-depth market analysis on datainsightsmarket.com.
After you've listed everything, the online tool will calculate the subtotal for you. From there, you just need to add any applicable taxes (like sales tax or VAT) as a separate line. If you're offering a discount, this is where you subtract it. The final number—the grand total—should be bold and impossible to miss. This methodical process guarantees accuracy and gives both you and your client a clean, professional document.
Making Your Receipt Look the Part
A basic receipt gets the job done, sure. It proves a transaction happened. But a thoughtfully designed receipt? That does so much more. It reinforces your brand and shows you care about the details. This is where you move past the default template and create a document that leaves a real impression.

Think of it as another touchpoint with your customer. Every little detail you add here builds trust and helps your business stick in their mind. Professionalism isn't just about the service you provide; it's also about the presentation.
Weaving in Your Brand Identity
First things first: your logo. It's the face of your company, so it needs to be right there on the receipt. Uploading a crisp, high-quality version of your logo is the single most important customization you can make. It instantly ties the document back to your business.
Next up is color. A good receipt generator will let you pick an accent color for headings or lines. Use your primary brand color here. This creates a consistent look that matches your website, business cards, and everything else you do.
Finally, let's talk fonts. You don't want to get too wild and sacrifice readability, but choosing a font that fits your brand's vibe—whether that's sleek and modern, classic and traditional, or fun and creative—adds a subtle layer of polish.
Adding Details That Matter
Customization isn't just about aesthetics; it's about adding practical, useful information. The right details can make life easier for both you and your customer, often answering questions before they're even asked.
A few small additions can make a huge difference:
- Payment Terms: A simple note in the footer like "Payment due within 30 days" can be a game-changer for getting paid on time.
- Tip Line: If you're in the service industry, this is non-negotiable. A dedicated line makes it simple for happy clients to add a tip.
- Barcodes: For retail businesses, adding a scannable barcode is a pro move. It makes your returns process smoother and helps with inventory tracking.
For anyone creating props for film or theater, authenticity is crucial. Many modern receipt makers now include features like thermal print effects and different paper textures. These are perfect for making props that look like they just came out of a real cash register.
Fine-Tuning the Layout for Clarity
Beyond branding, you can tweak the layout itself to highlight what's most important. You might add a custom header with a special offer or a footer with your return policy clearly stated. When you create a receipt online, you have complete control. Our full guide on how to make receipts goes even deeper into structuring these documents effectively.
Don't forget to add fields that are specific to your line of work. A mechanic might add a space for the "Vehicle VIN," while a freelance designer could include a "Project ID." These small, industry-specific touches show you understand your clients' world, turning a simple proof of purchase into a genuinely professional document.
Finalizing and Delivering Your Receipt
Alright, you've filled in all the details and given your receipt that professional polish. Now it’s time to bring it all together and get it into your client's hands. This last part is about turning your on-screen draft into a final, shareable document.
How you package the receipt is almost as important as the information on it. You need to think about how your customer will use it. Will they print it for their records? Or just glance at it on their phone? The file type you choose makes all the difference.
Choosing the Right File Format
Most tools will offer a few export options, and each has its place. I've learned from experience that picking the right one from the start saves a lot of back-and-forth.
Here’s a quick rundown of the big three:
- PDF (Portable Document Format): This is my go-to for anything official. A PDF is the digital equivalent of a formal, printed document. It looks the same everywhere, on any device, and it’s secure. If you're sending a receipt for tax purposes or a major purchase, always use a PDF.
- PNG (Portable Network Graphics): Perfect for when you want to drop the receipt image directly into an email or a message. PNGs can have a transparent background, so they look super clean and integrate seamlessly without looking like a clunky attachment. It’s a great option for quick confirmations.
- JPEG (Joint Photographic Experts Group): JPEGs are all about small file sizes. If you just need to send a quick visual proof of purchase that will load instantly, this is your format. Think of it as the quick-and-easy option for less formal interactions.
Pro Tip: Don't just download and delete. I can't tell you how many times I've needed to go back and tweak a receipt because of a small mistake or a client request. Save yourself the headache and create a free account with whatever tool you're using. It keeps your work in the cloud, so you can edit, duplicate, or resend it in seconds.
Saving and Organizing for Easy Access
Once the receipt is sent, you're not quite finished. Good record-keeping is what really sets the pros apart and makes tax time infinitely less painful. A little organization now pays off big time later.
Start by creating a main folder on your computer or cloud storage—something simple like "Receipts 2024." From there, I like to create subfolders for each client or by month.
A consistent file name is your best friend. I use a format like ClientName-Invoice001-Date.pdf. This simple system makes finding any specific document a breeze, which is invaluable when you need to pull up records quickly.
Putting these final touches on your process is what makes it all work smoothly. If you're ready to create and manage your documents this way, a good receipt maker will have all these options built right in.
Common Mistakes to Avoid
Making a receipt online seems simple enough, but a few small missteps can cause some pretty big headaches later on. I've seen it happen time and time again. These common slip-ups can make you look unprofessional, confuse your customers, and turn your bookkeeping into a nightmare.
Let's start with the most common oversight: forgetting sales tax. It's easy to get the subtotal right and then completely forget to add the necessary tax as its own line item. This almost always leads to payment mix-ups and messy accounting. Before you send anything, double-check your local tax laws and make sure that amount is clearly broken out before the final total.
Vague or Inconsistent Information
Another classic pitfall is playing fast and loose with receipt numbers. You need a consistent, sequential system—something like RCPT-001, RCPT-002, RCPT-003, and so on. If you're just making up numbers on the fly, you'll find it nearly impossible to track transactions later, especially if you get audited or a client has a question about a past payment.
Vague item descriptions are just as problematic. A line item that simply says "Services Rendered" tells nobody anything useful. What services? When? Be specific. Something like "Logo Design - 3 Revisions" provides crystal-clear justification for your charges and leaves no room for confusion.
A Quick Note on Using These Tools Ethically: It's really important to remember that tools like Receipt Maker are built for legitimate business uses—think expense reports, client records, and general bookkeeping. The rise of a "fraud-as-a-service" ecosystem shows exactly why using these tools responsibly is so critical. Ethical generators enforce strict no-fraud policies to support the honest needs of small businesses and gig workers, who are driving significant market growth. You can find more insights on this trend over at infosecurity-magazine.com.
By sidestepping these common errors, you can be confident that every receipt you create is accurate, professional, and does its job without creating friction for you or your customers.
Got Questions? We’ve Got Answers.
As you start making receipts online, a few questions tend to pop up. Let's tackle some of the most common ones I hear from business owners, so you can create every document with confidence.
What Absolutely Has to Be on a Receipt for It to Be Legal?
While the specifics can differ slightly depending on where you do business, there are a few non-negotiables for any professional receipt. Think of these as the bare minimum for compliance and good record-keeping.
Every receipt should clearly state:
- Your business name and address.
- The date the transaction happened.
- A unique receipt number for easy tracking.
- An itemized list of what was sold (products or services) with individual prices.
- The subtotal, any taxes you collected (like VAT or GST), and the final grand total.
And a pro tip: if you're registered for sales tax, always include your registration number. It’s a small detail that’s crucial for keeping the tax authorities happy.
What If I Make a Mistake? Can I Edit a Receipt After Saving It?
Yes, you can! This is one of the biggest perks of using a good online receipt maker. When you create a free account, your work is saved, and you can come back to it anytime.
I can't tell you how many times this has saved me. You spot a typo just after sending it, or a client updates their address. Instead of starting all over again, you just log in, make the quick fix, and you're done. It's also fantastic for recurring billing—just duplicate a previous receipt and update the date.
The ability to save and edit your work isn't just a feature; it's a massive time-saver. It turns a one-off task into creating a set of reusable templates for your business.
Are Receipts I Make Online Legit for Tax Purposes?
Absolutely. As long as the receipt contains all the correct and legally required information, a digitally generated receipt is just as valid as a traditional paper one.
Your accountant, your bookkeeping software, and the tax office will all accept it for things like expense claims and financial records. The key is accuracy. The tool is just a way to create the document; the integrity of the information you put on it is what truly matters.
Ready to create polished, professional receipts in seconds? Receipt Maker provides over 100 templates and full customization to meet your business needs. Get started for free.