The Top 12 Best Free Receipt Template Online Tools for 2026
Looking for a free receipt template online? Discover the top 12 tools to create, customize, and download professional receipts for any use case in 2026.

Whether you're a freelancer tracking expenses, a small business owner needing proof of purchase, or a creative professional sourcing props, finding a reliable free receipt template online can be a game-changer. Manually creating receipts is tedious, and complex accounting software is often overkill for simple transactions. This guide solves that problem by cutting through the noise to bring you the best online receipt makers and downloadable templates available today. We get straight to the point, helping you create professional, accurate receipts in just minutes.
This curated list breaks down the top 12 resources, detailing their specific strengths, ideal use cases, and notable limitations. You'll find options perfect for everything from realistic thermal prints for film props to branded, email-ready PDFs for client billing. Each entry includes direct links and a quick overview, so you can quickly compare tools and find the perfect fit for your specific needs, whether you require an editable Excel sheet, a simple PDF form, or a web-based generator. We have done the research so you can stop searching and start creating the exact receipt you need, right now.
1. Receipt Maker
Receipt Maker establishes itself as a premier destination for anyone needing a free receipt template online. It is a powerful, browser-based tool that excels in speed, realism, and customization, making it an ideal choice for a diverse range of users from small business owners to creative professionals. The platform allows you to generate professional, print-ready receipts in moments without requiring any software installation or mandatory sign-up for basic use.
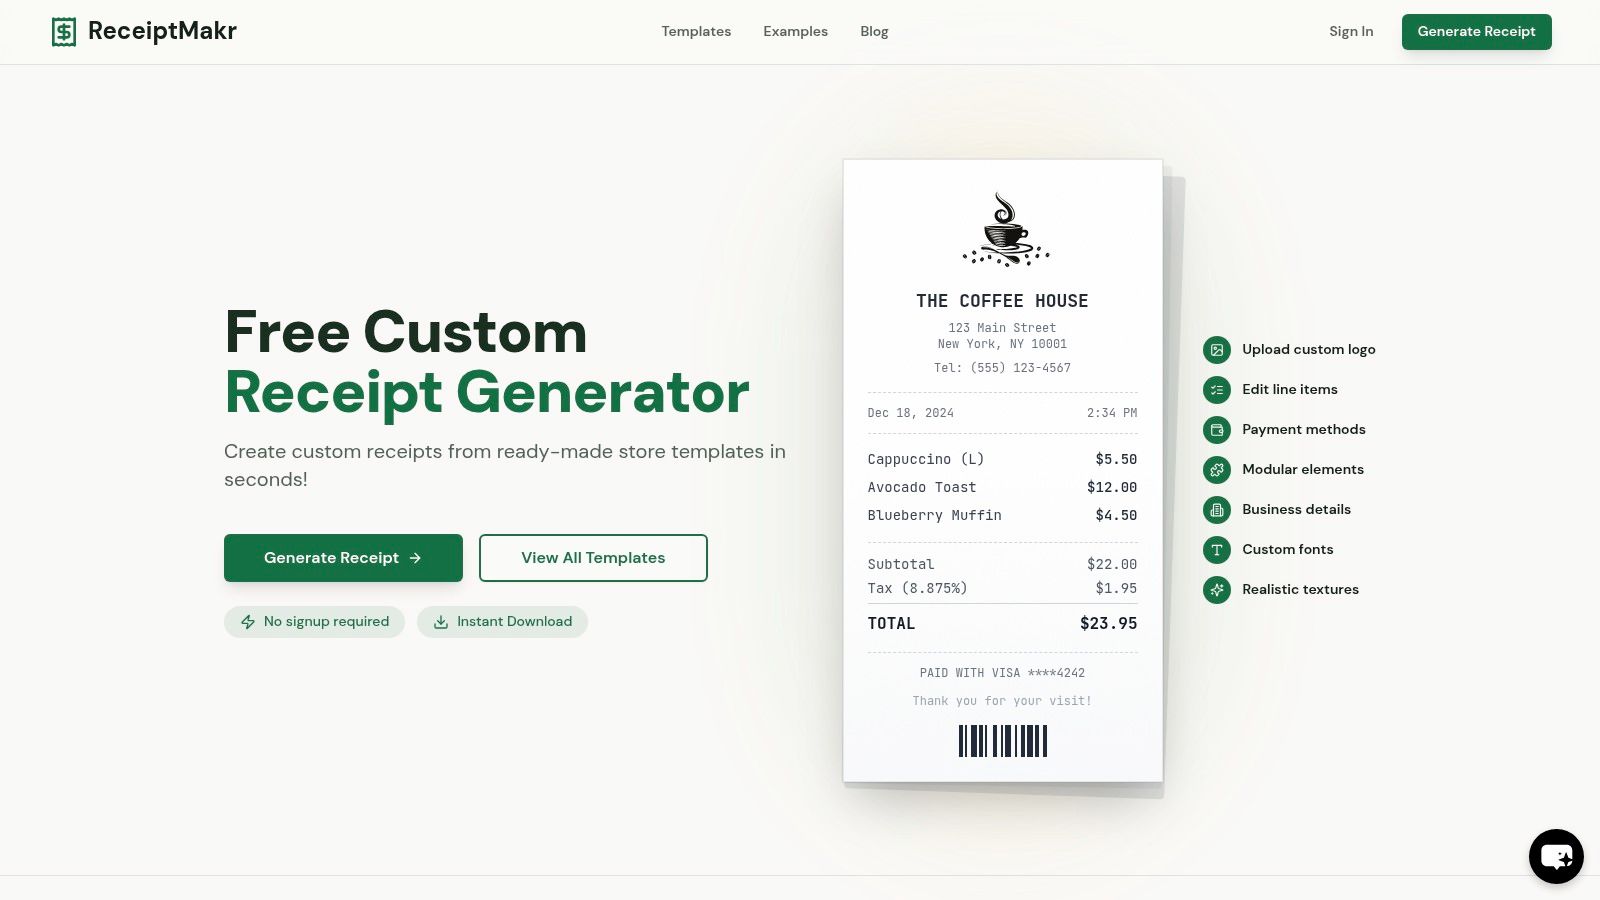
Its standout feature is the unparalleled level of detail and authenticity it offers. You can fine-tune every element, from logos and tax IDs to barcodes, fonts, and even realistic paper textures with thermal-print effects. This deep customization makes it an exceptional tool for developers testing payment flows or filmmakers needing authentic-looking props.
Key Features and Use Cases
- Extensive Template Library: Access over 100 professionally designed templates for industries like retail, restaurants, gas stations, rideshare, and services. The pre-filled examples provide excellent starting points.
- Deep Customization: Modify line items, taxes, payment methods (cash, card, Apple Pay), and even add tips or custom headers and footers for a truly bespoke document.
- Realistic Output: The ability to add thermal-print effects and various paper textures ensures the final receipt looks genuine, a critical feature for prop creation and quality assurance testing.
- Print-Optimized Exports: Instantly download receipts as PNG, JPEG, or PDF files. The PDF export is specifically optimized for standard 80 mm thermal printers, a practical benefit for retail environments. For additional guidance, you can explore their tips on creating free online receipt templates.
Pricing and Access
Receipt Maker operates on a freemium model. You can generate and download receipts completely free, which is perfect for one-off needs. However, the free versions will include a watermark. To remove the watermark and unlock additional templates and advanced features, you must upgrade to a premium plan. An account is only required if you wish to save and sync your receipts.
Website: https://receiptmakr.com
2. Adobe Express — Receipt Templates
Adobe Express offers a polished, design-centric approach to creating receipts. Instead of a simple form generator, it provides a gallery of professionally designed templates that users can customize within a powerful, browser-based editor. This makes it an ideal choice for businesses and freelancers who want to create visually appealing, on-brand receipts that go beyond basic transaction records. The drag-and-drop interface is intuitive, even for those with no design experience.
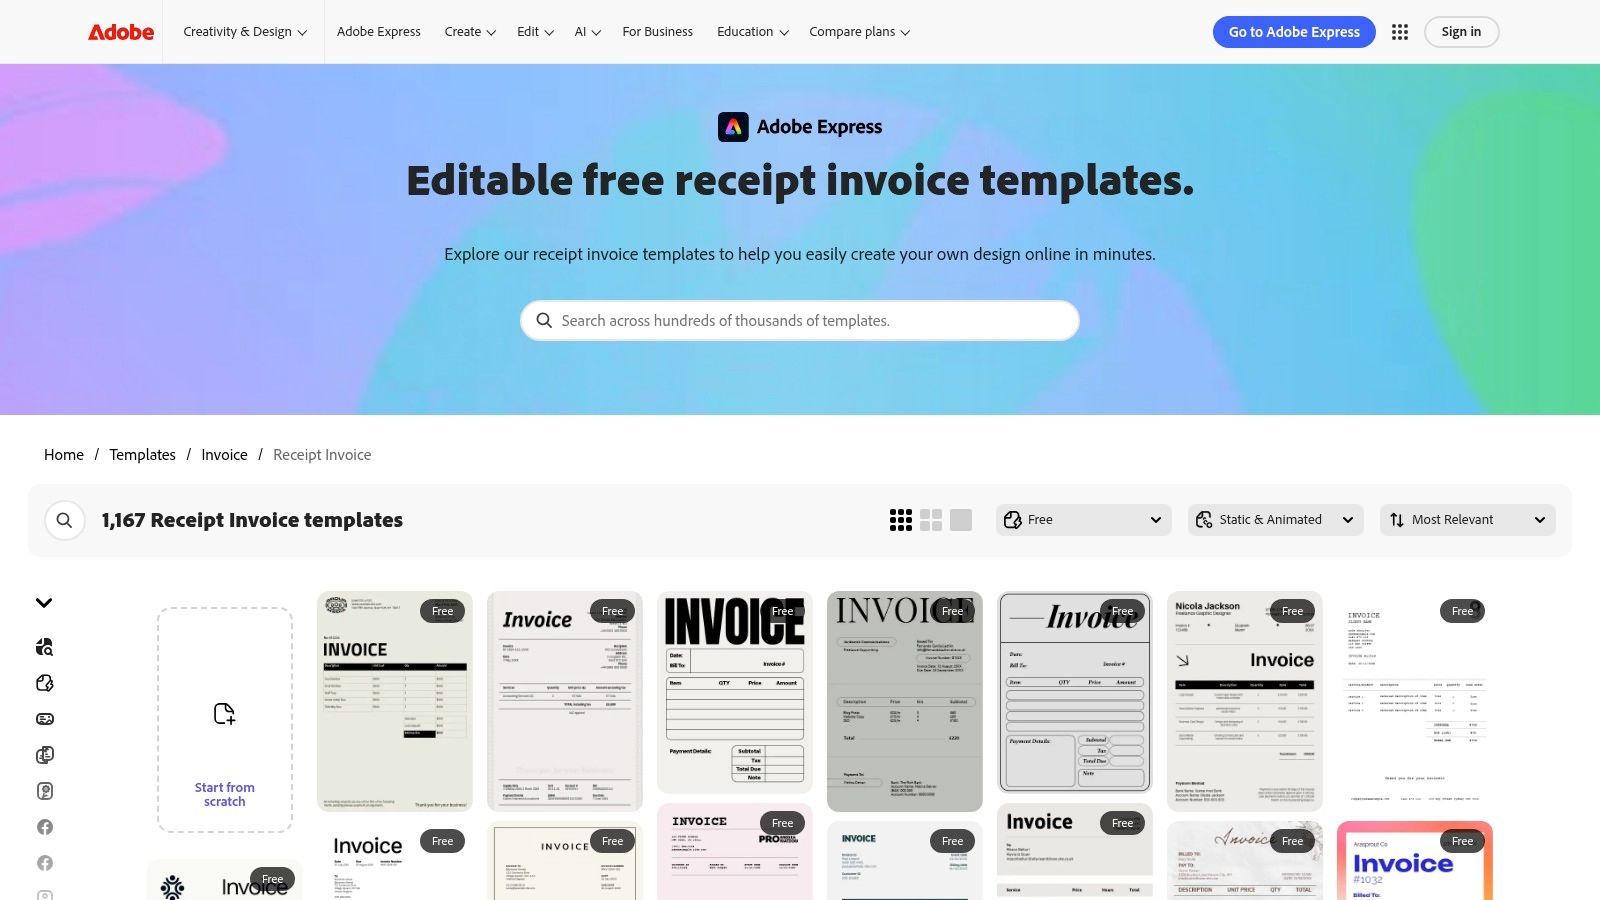
The platform excels at brand consistency. Users can easily upload a logo, apply brand colors, and choose from a vast library of Adobe Fonts to ensure every receipt aligns with their business identity. While many templates are free, some premium designs and features require an Adobe Express Premium subscription. For those seeking a high-quality free receipt template online, Adobe Express provides a great balance of aesthetic control and user-friendliness.
| Feature Analysis | Details |
|---|---|
| Ideal Use Case | Small businesses wanting high-design, branded receipts. |
| Customization Level | High (colors, fonts, logo, layout adjustments). |
| Supported Formats | PDF, PNG, JPG. |
| Limitations | Some templates and assets are locked behind a premium plan. |
| Ease of Use | Excellent; familiar, intuitive drag-and-drop editor. |
Website: https://www.adobe.com/express/templates/invoice/receipt
3. Canva — Receipt How-To + Free Templates
Canva brings its renowned, user-friendly design platform to the world of receipts, making it incredibly simple for anyone to create professional-looking documents. Much like its approach to social media graphics and presentations, Canva provides a vast library of customizable templates. Users can start with a pre-designed layout and quickly adapt it by adding their logo, changing brand colors, and modifying text fields within its intuitive, browser-based editor. This makes it an excellent choice for those who prioritize ease of use and speed without sacrificing design quality.

The platform is particularly strong for small teams, thanks to its built-in collaboration features that allow multiple users to edit a design. While many templates and assets are free, some premium elements are reserved for Canva Pro subscribers. However, the free offering is more than sufficient for finding a high-quality free receipt template online. Its powerful export options allow you to save your final receipt as a print-ready PDF or an image file with just a few clicks. For those interested in various design layouts, you can see more receipt examples to get inspiration.
| Feature Analysis | Details |
|---|---|
| Ideal Use Case | Freelancers and small teams needing fast, branded receipts with collaboration. |
| Customization Level | High (full control over colors, fonts, logos, and elements). |
| Supported Formats | PDF, PNG, JPG. |
| Limitations | Some of the best templates and design elements require a Canva Pro subscription. |
| Ease of Use | Excellent; extremely low learning curve and user-friendly interface. |
Website: https://www.canva.com/ja_jp/learn/how-to-write-a-receipt/
4. Jotform — Receipt PDF Templates
Jotform takes a unique, automation-first approach to receipt generation. Instead of a standalone template editor, it integrates receipt creation directly into its powerful form-building platform. This is ideal for businesses that collect payments or information online, as a customized PDF receipt can be automatically generated and emailed to a user the moment they complete a form. With over 50 specialized templates, it caters to niches like donations, rent payments, and event registrations.
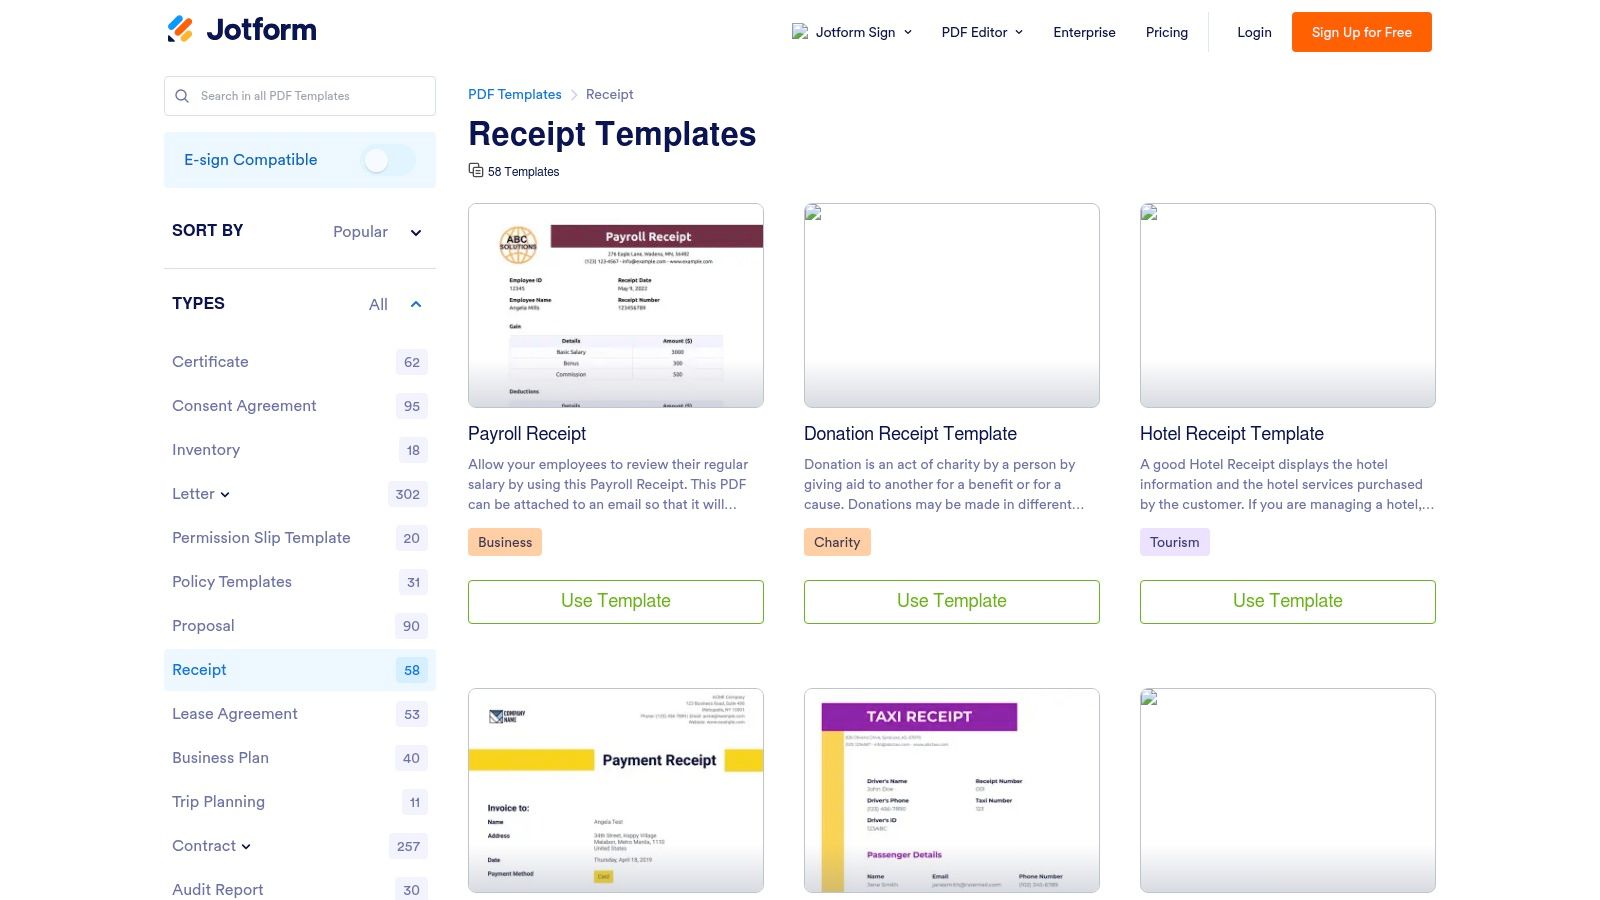
The core strength of Jotform is its ability to eliminate manual work. By connecting a payment gateway to a Jotform form, you can create a seamless workflow where a customer pays, and a branded receipt is instantly delivered to their inbox and saved to your cloud storage. While its drag-and-drop PDF editor is robust, the platform is best utilized when paired with its form-building capabilities. This makes it a standout choice for anyone seeking an automated free receipt template online solution tied to online transactions or data collection.
| Feature Analysis | Details |
|---|---|
| Ideal Use Case | Businesses needing to auto-generate and email receipts from online forms (e.g., event sales, donations, orders). |
| Customization Level | High (drag-and-drop editor for PDF layout, colors, fields). |
| Supported Formats | PDF. |
| Limitations | Automation features are tied to using Jotform's form builder; less ideal for simple, one-off manual receipts. |
| Ease of Use | Very Good; requires some setup to connect forms to the PDF editor, but the process is guided and logical. |
Website: https://www.jotform.com/pdf-templates/receipt-template
5. Vertex42 — Excel/Google Sheets Receipt Templates
For users who prefer the familiarity and offline capabilities of spreadsheets, Vertex42 offers a practical and robust solution. Instead of a web-based generator, it provides a collection of downloadable templates for Microsoft Excel and Google Sheets. This approach is ideal for those who want total control over their data, need to work offline, or are already comfortable managing finances in a spreadsheet environment. The templates come with pre-built formulas for automatic calculations of subtotals and taxes, simplifying the creation process significantly.

Vertex42 stands out by offering specialized layouts, such as cash receipts and options to print multiple receipts per page, which helps save paper. The templates are clean, professional, and highly functional. Because they are native spreadsheet files, users can easily customize every cell, formula, and design element to fit their exact needs, a level of control not always available in online tools. This makes it an excellent source for a free receipt template online that you can adapt for detailed record-keeping; for more details on what to include, you can reference this itemized receipt template guide.
| Feature Analysis | Details |
|---|---|
| Ideal Use Case | Users comfortable with Excel/Sheets needing offline access and auto-calculations. |
| Customization Level | Very High (full spreadsheet editing capabilities). |
| Supported Formats | XLSX, Google Sheets, PDF (via printing). |
| Limitations | Requires spreadsheet software; less design polish than dedicated graphic tools. |
| Ease of Use | Good; requires basic spreadsheet knowledge for effective customization. |
Website: https://www.vertex42.com/ExcelTemplates/simple-receipt-template.html
6. Smartsheet — Receipt Templates (PDF, Word, Excel)
Smartsheet provides a highly practical resource hub of downloadable receipt templates rather than an interactive generator. Its strength lies in its clear organization and format diversity, offering templates tailored to specific use cases like service work, rent payments, donations, and deliveries. This approach is perfect for users who prefer working in familiar software like Microsoft Word or Excel and need a specific layout without the hassle of building it from scratch. The one-click download system makes grabbing the right file incredibly efficient.
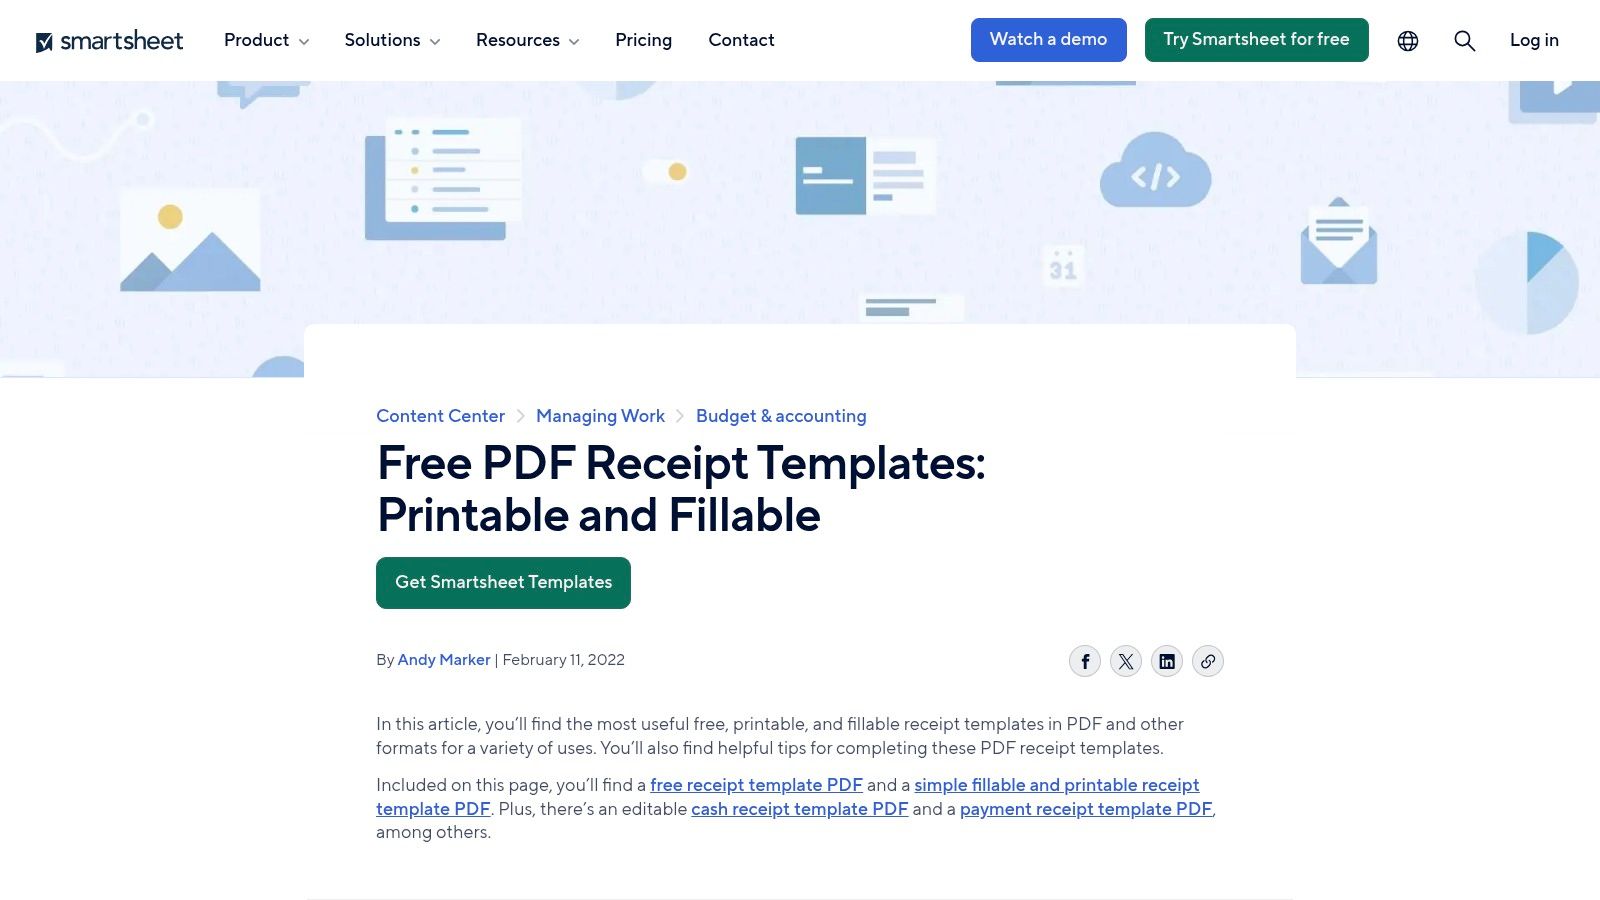
The primary advantage is workflow integration; users can download a template and immediately start editing it in their preferred program. Excel versions often include auto-calculation formulas for totals and taxes, saving time and reducing manual errors. While the site promotes the main Smartsheet platform, the templates themselves are completely free and require no sign-up. This collection is an excellent source for anyone looking for a reliable free receipt template online that works with standard office software.
| Feature Analysis | Details |
|---|---|
| Ideal Use Case | Businesses needing use-case specific templates for Word or Excel. |
| Customization Level | Moderate (depends on user's skill with Word/Excel/PDF editor). |
| Supported Formats | PDF, Word, Excel. |
| Limitations | Static files; requires separate software for editing. |
| Ease of Use | Excellent; simple one-click downloads and clearly organized options. |
Website: https://www.smartsheet.com/content/receipt-template-pdf
7. Smallpdf — Simple Receipt Template
Smallpdf offers a straightforward and highly practical solution for users who frequently work with PDF documents. Instead of a complex generator, it provides a clean, downloadable receipt template compatible with Word and Google Docs. Its primary strength lies in its integration with Smallpdf’s suite of PDF utilities, allowing users to download the template and then immediately use the platform’s tools to edit, annotate, e-sign, or merge the final PDF receipt without leaving the ecosystem.
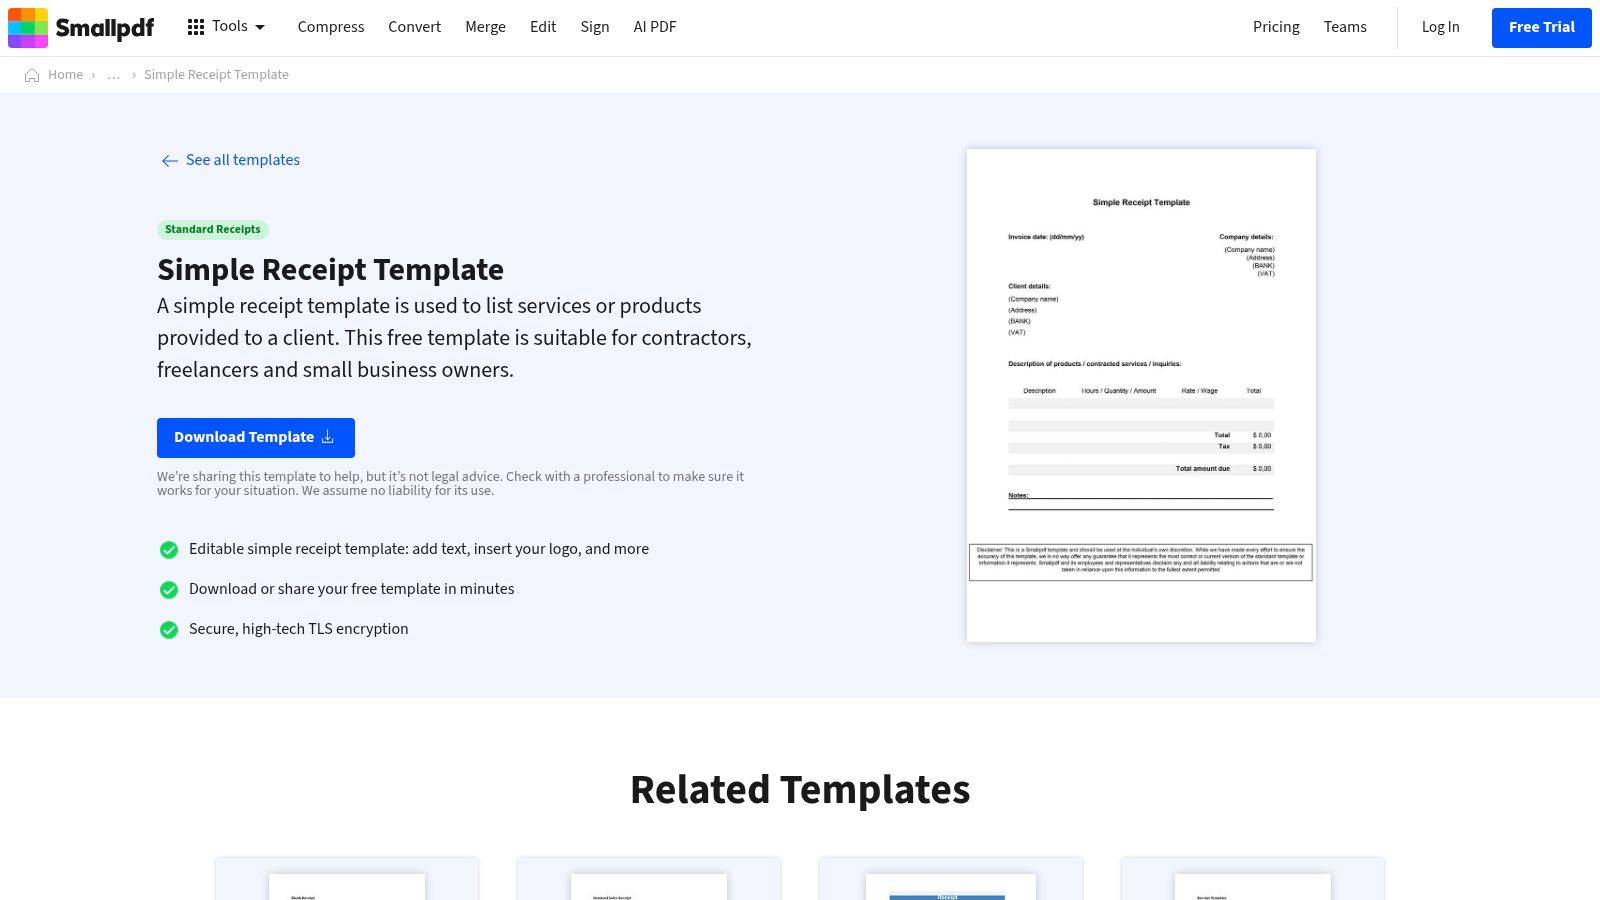
This approach is perfect for generating a quick one-off receipt or for those who already use Smallpdf for document management. The platform provides clear instructions on how to fill out the template, making it accessible even for beginners. While the template design itself is basic, its utility is amplified by the connected tools. For anyone needing a simple free receipt template online that plays well with a powerful set of PDF editors and converters, Smallpdf presents an efficient, workflow-oriented option. Some advanced PDF editing features may require a Pro subscription.
| Feature Analysis | Details |
|---|---|
| Ideal Use Case | Users needing to create and edit receipts within a PDF-centric workflow. |
| Customization Level | Low (basic edits in Word/Docs, annotations in Smallpdf). |
| Supported Formats | PDF, DOCX (via download). |
| Limitations | Only one basic template design. Advanced PDF tools require a Pro plan. |
| Ease of Use | Excellent; clear instructions and seamless integration with its own tools. |
Website: https://smallpdf.com/templates/invoices/receipts/standard-receipts/simple-receipt-template
8. PandaDoc — Receipt Templates (e-sign capable)
PandaDoc elevates the simple receipt into a complete document workflow. It is designed for users who need more than just a record of transaction; they need a trackable, signable document. This platform offers a gallery of professional templates that can be edited, sent for e-signature, and monitored within its ecosystem, making it perfect for service agreements, rent payments, or high-value sales where a simple slip is insufficient. The focus is on a formal, end-to-end process rather than a quick point-of-sale generator.
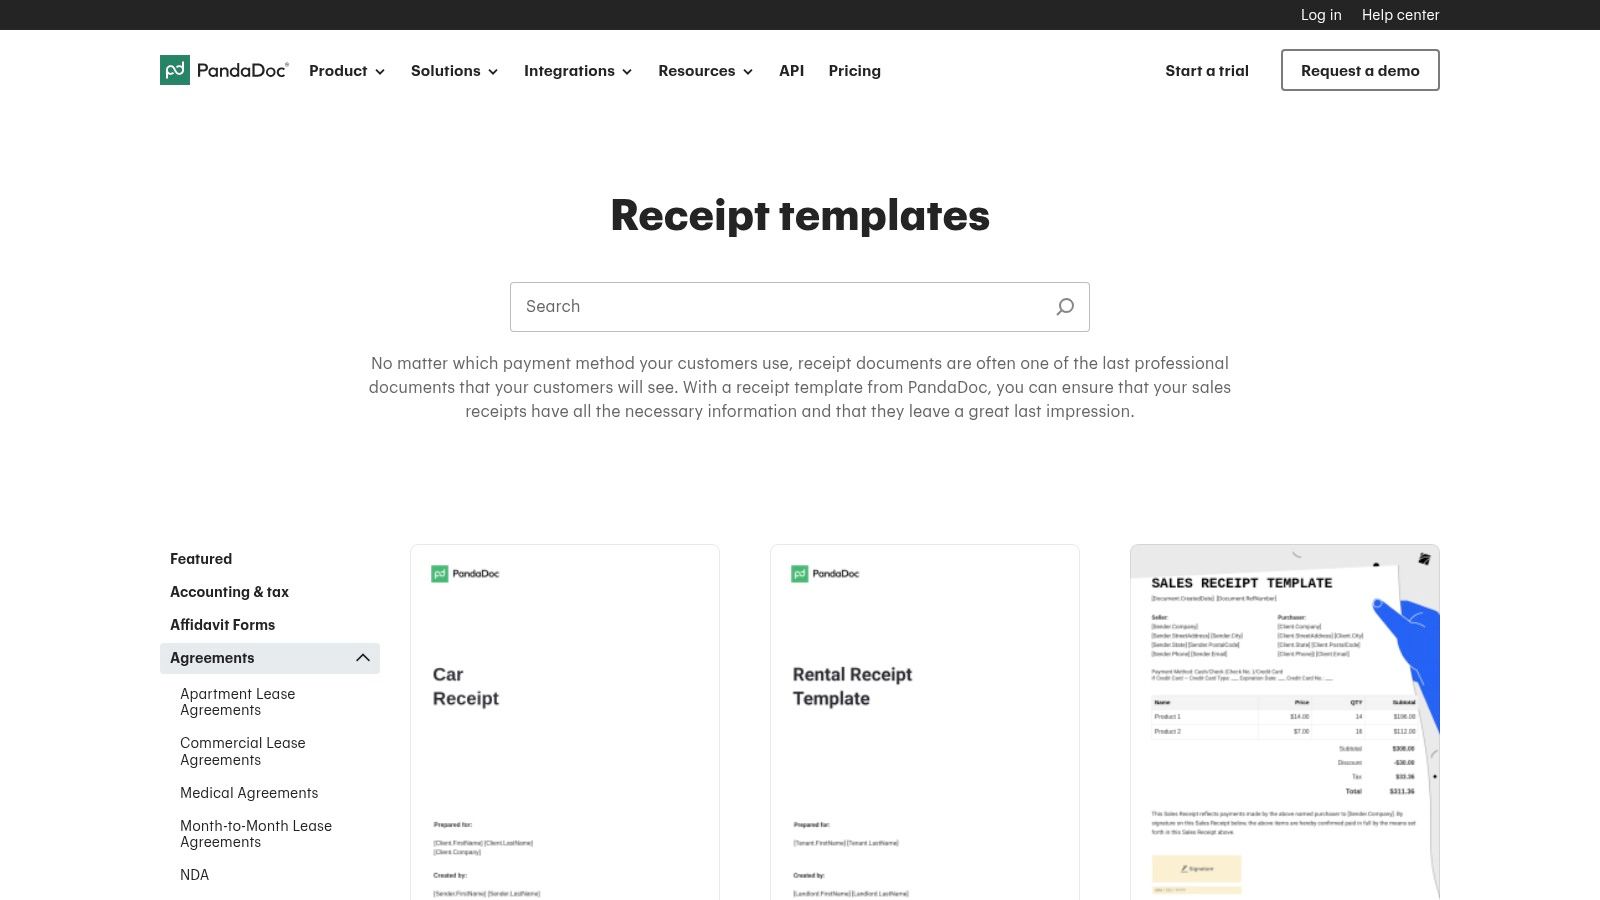
The key differentiator for PandaDoc is its integration of legally binding e-signatures and document tracking. You can see when a recipient opens and signs a receipt, creating a clear audit trail. While the templates are free to download and customize, leveraging the full send-and-sign workflow requires a PandaDoc account. For anyone seeking a free receipt template online that includes approval and signature capabilities, PandaDoc offers a uniquely powerful and professional solution.
| Feature Analysis | Details |
|---|---|
| Ideal Use Case | Service providers, landlords, and sales teams needing signed proof of payment. |
| Customization Level | High (content, variables, branding, e-sign fields). |
| Supported Formats | PDF (sent via PandaDoc platform). |
| Limitations | Full workflow (sending, signing, tracking) requires a PandaDoc account. |
| Ease of Use | Very Good; guided editor simplifies complex document creation. |
Website: https://www.pandadoc.com/receipt-templates/
9. Xero (US) — Free Receipt Template & Generator
Xero, a major accounting software platform, offers a no-frills and highly practical receipt template designed with financial best practices in mind. Rather than focusing on design, Xero provides a straightforward, accountant-vetted generator that produces a fillable PDF. This approach ensures that all necessary information for compliance and bookkeeping, such as business details, itemized lists, taxes, and payment totals, is clearly structured. It's an excellent resource for businesses that prioritize accuracy and function over aesthetics.
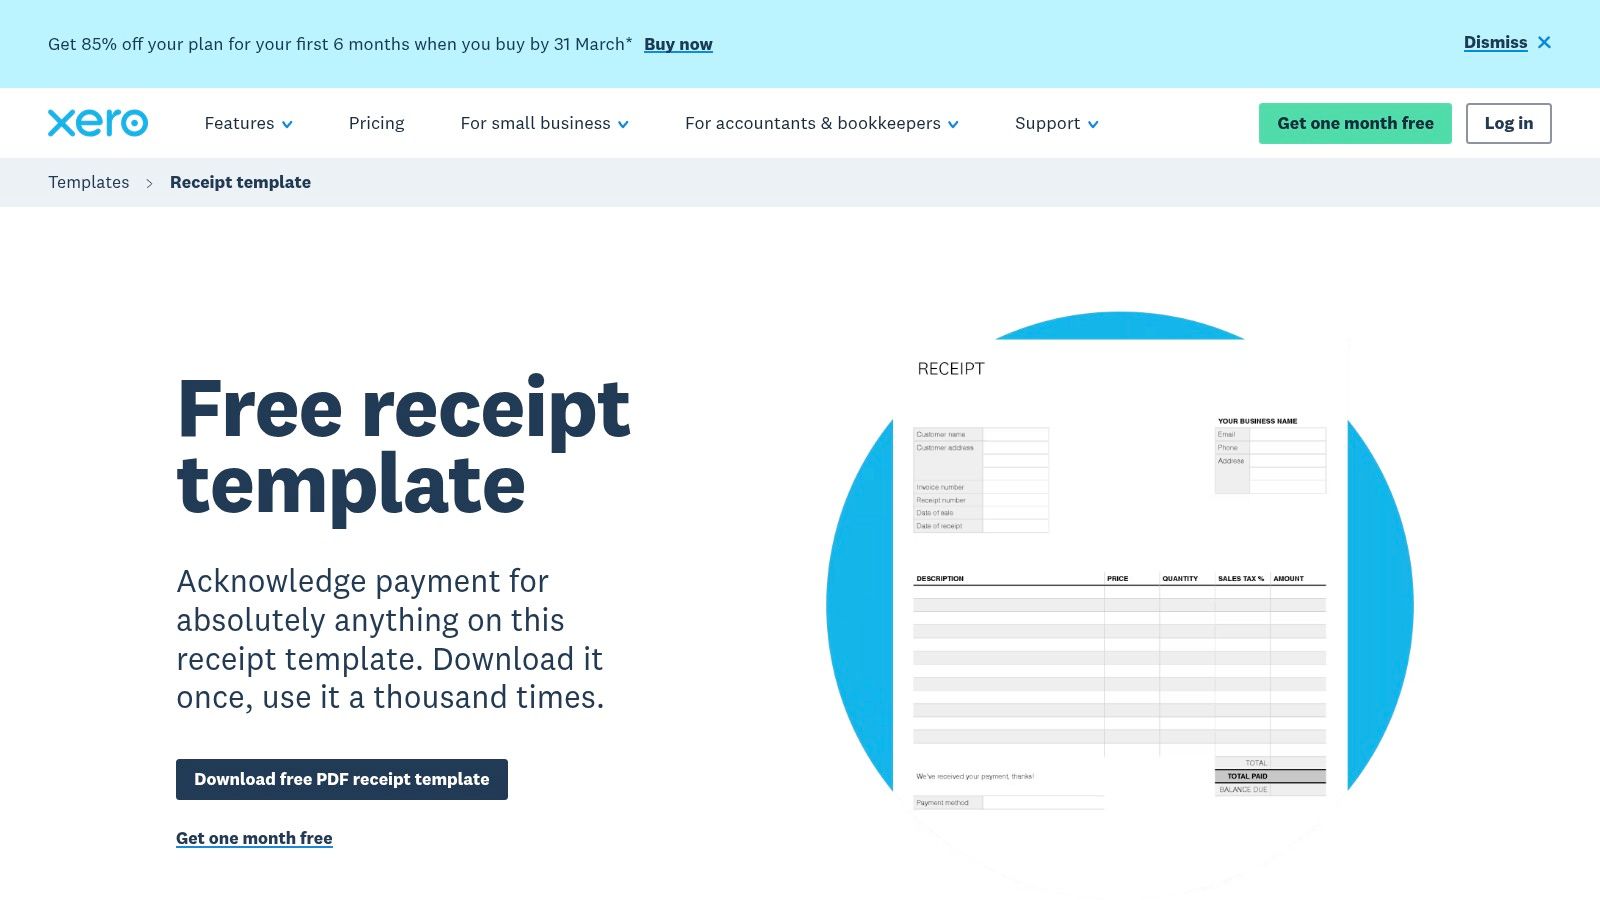
The primary strength of this tool is its authority and simplicity. Users can fill out a simple form online to download a reusable, fillable PDF, making it efficient for creating multiple receipts over time. While you don’t get the creative freedom of design-focused platforms, you do get a professional, compliant document without needing to be a Xero customer. This makes it a top-tier free receipt template online for anyone who needs a reliable, accounting-ready format without any complexity or cost.
| Feature Analysis | Details |
|---|---|
| Ideal Use Case | Small businesses and freelancers needing a simple, compliant, and professional receipt. |
| Customization Level | Low (fillable fields, logo upload). |
| Supported Formats | PDF. |
| Limitations | No design or layout customization; format is fixed. |
| Ease of Use | Excellent; a simple form generates a reusable PDF template instantly. |
Website: https://www.xero.com/us/templates/receipt-template/
10. Bookipi — Free Receipt Templates (Word, Excel, Google Docs)
Bookipi offers a practical solution for users comfortable working within common office software. Instead of an online generator, it provides a selection of downloadable and fillable receipt templates designed for Microsoft Word, Excel, and Google Docs. This approach is perfect for small business owners or freelancers who prefer managing their finances within familiar programs and want a straightforward, no-frills method for creating printable records of transactions.
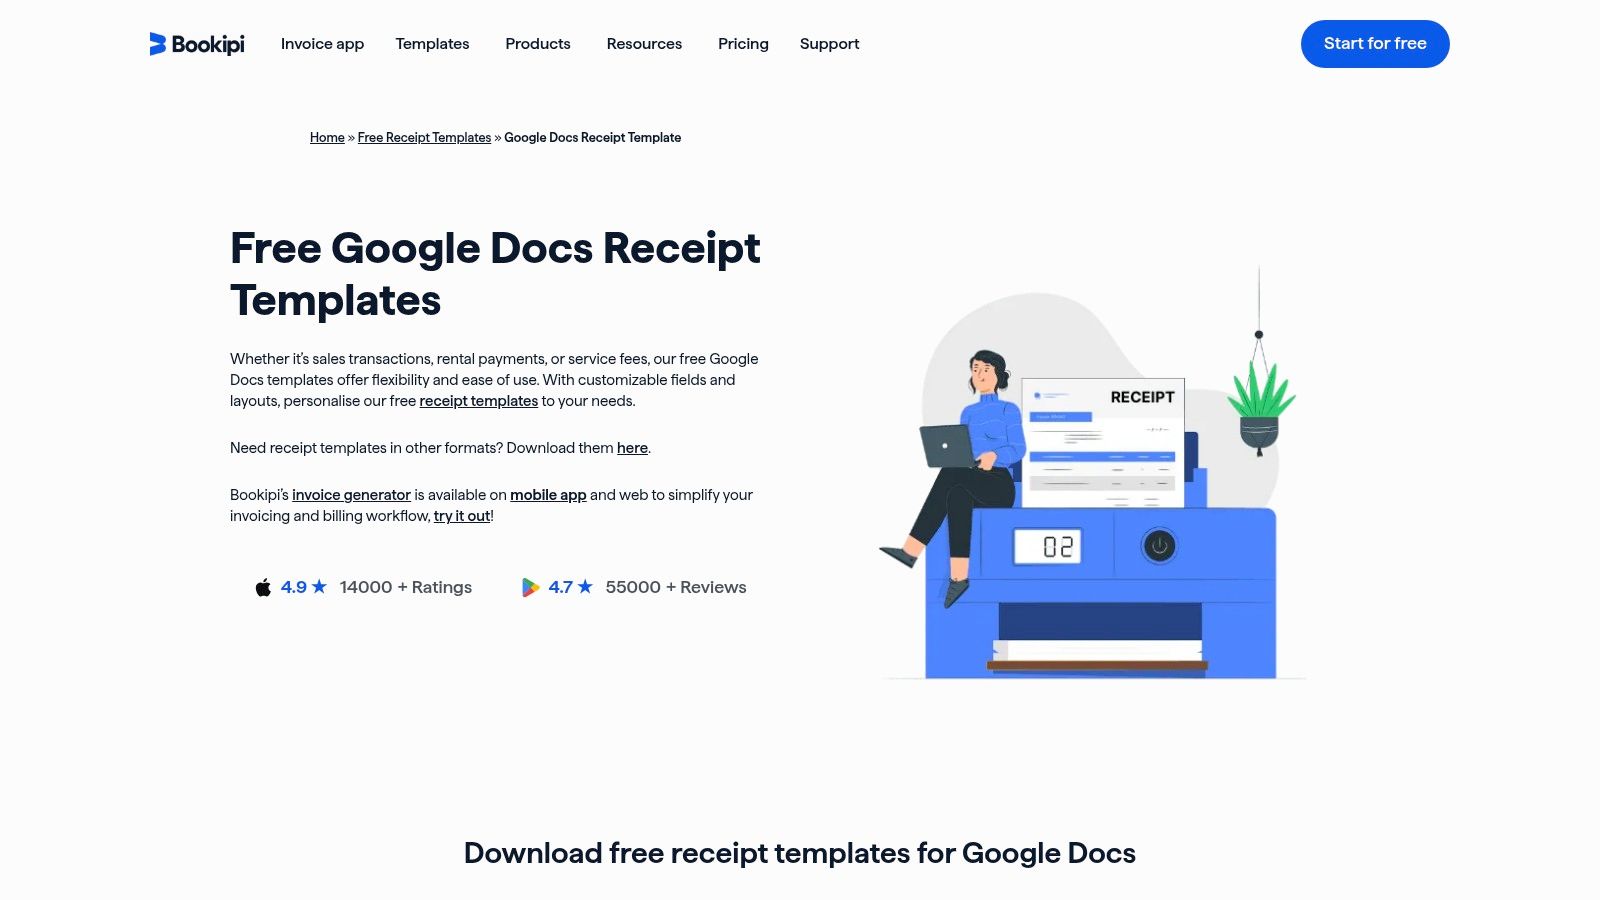
The primary advantage of Bookipi is its versatility across different platforms, giving users the freedom to edit and save receipts offline. While the templates themselves are quite basic in design, they serve as a gateway to Bookipi’s more advanced mobile and web app, which offers automated features. For anyone seeking a simple free receipt template online that integrates with existing workflows, Bookipi provides a solid, accessible starting point without an immediate commitment to a new app.
| Feature Analysis | Details |
|---|---|
| Ideal Use Case | Users who prefer editing receipts in Word, Excel, or Google Docs. |
| Customization Level | Moderate (fully editable within the respective software). |
| Supported Formats | DOCX, XLSX, Google Docs/Sheets (convertible to PDF). |
| Limitations | Template designs are very basic; automation requires the app. |
| Ease of Use | Excellent; leverages familiarity with standard office software. |
Website: https://bookipi.com/receipt-template/google-docs-receipt-template/
11. Template.net — Free/Editable Receipt Templates
Template.net offers a massive library of professionally formatted receipt templates designed for compatibility with common office software. Its key advantage is providing pre-built, business-ready documents that can be downloaded and edited in familiar applications like Word, Google Docs, and Sheets. This approach is perfect for users who need a functional, well-structured receipt quickly without spending time in a dedicated design application. The variety ranges from general sales receipts to more niche options, ensuring a suitable starting point for nearly any transaction.
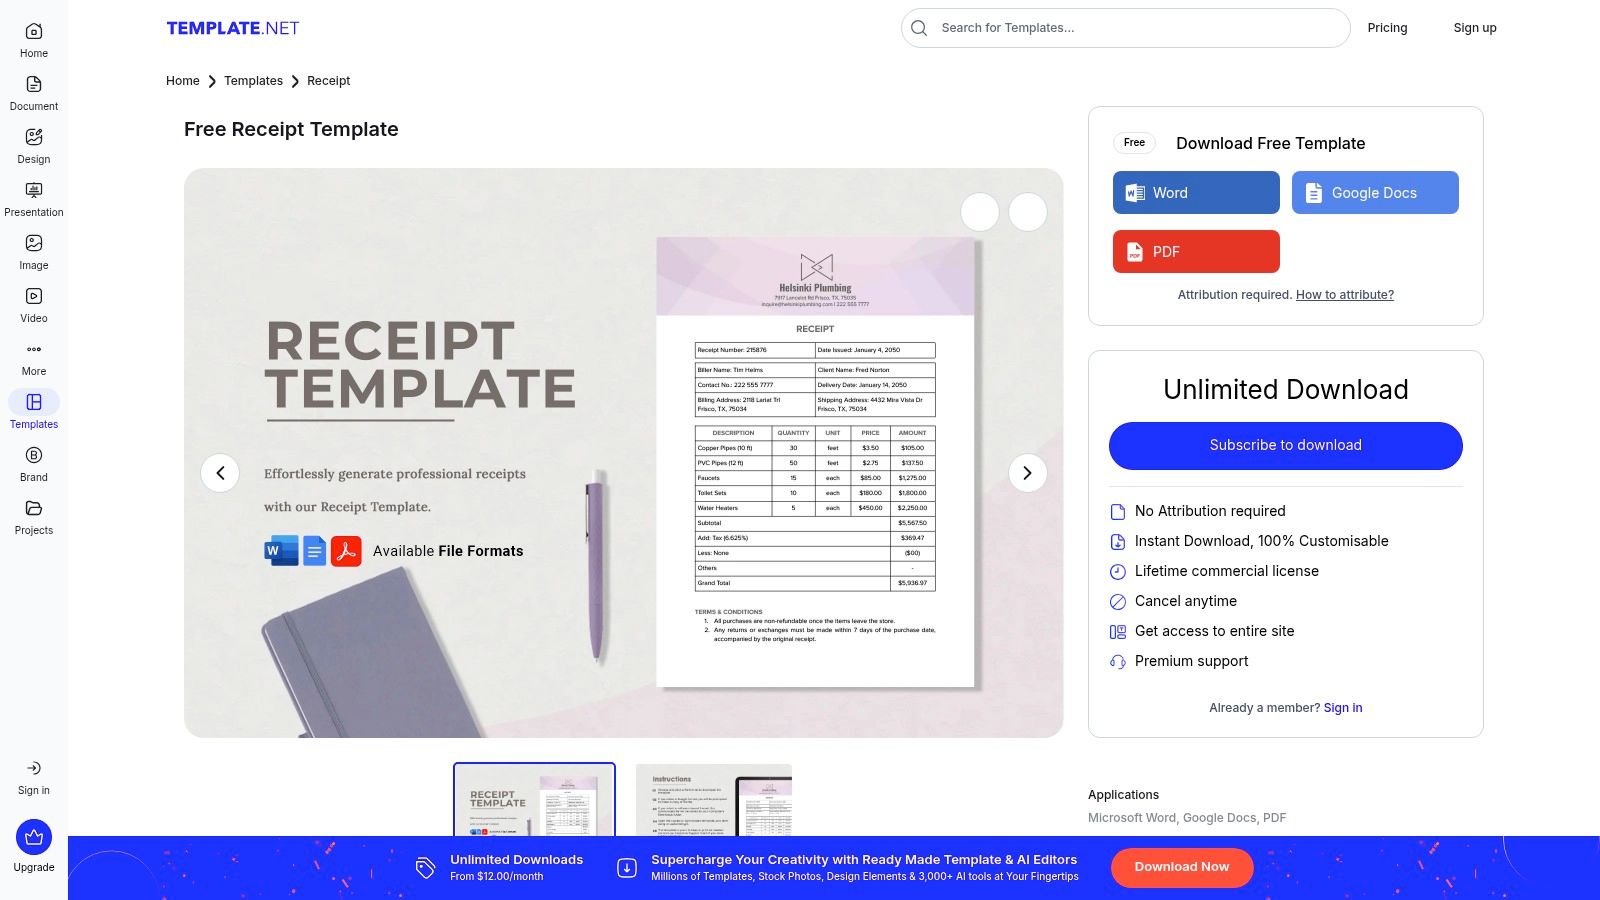
The platform is built for speed and practicality. Each free receipt template online includes essential fields such as a logo placeholder, receipt number, tax calculations, and totals, making them ready to deploy almost immediately. While the styling options are less granular than in graphic design tools, the templates provide a clean and professional look right out of the box. Users should be aware that while many templates are free, some of the more advanced or specialized designs may require a free account or a premium subscription for access.
| Feature Analysis | Details |
|---|---|
| Ideal Use Case | Users needing professional receipts in standard formats like Word or Google Docs. |
| Customization Level | Medium (text, logo, and basic formatting within the chosen software). |
| Supported Formats | Word, Google Docs, PDF, Google Sheets, Apple Pages. |
| Limitations | Some templates are gated behind a subscription; less creative control than design apps. |
| Ease of Use | Excellent; just download and edit in your preferred program. |
Website: https://www.template.net/editable/139289/receipt-template
12. Invoice Home — Online Receipt Templates
Invoice Home delivers a straightforward, no-fuss solution for generating professional receipts. Its strength lies in a simple fill-and-print workflow, allowing users to select from various templates like sales, cash, or general receipts, populate the fields directly in their browser, and immediately download the document. This makes it an excellent choice for merchants or service providers who need to create standardized, print-friendly receipts quickly without getting bogged down in complex design software.
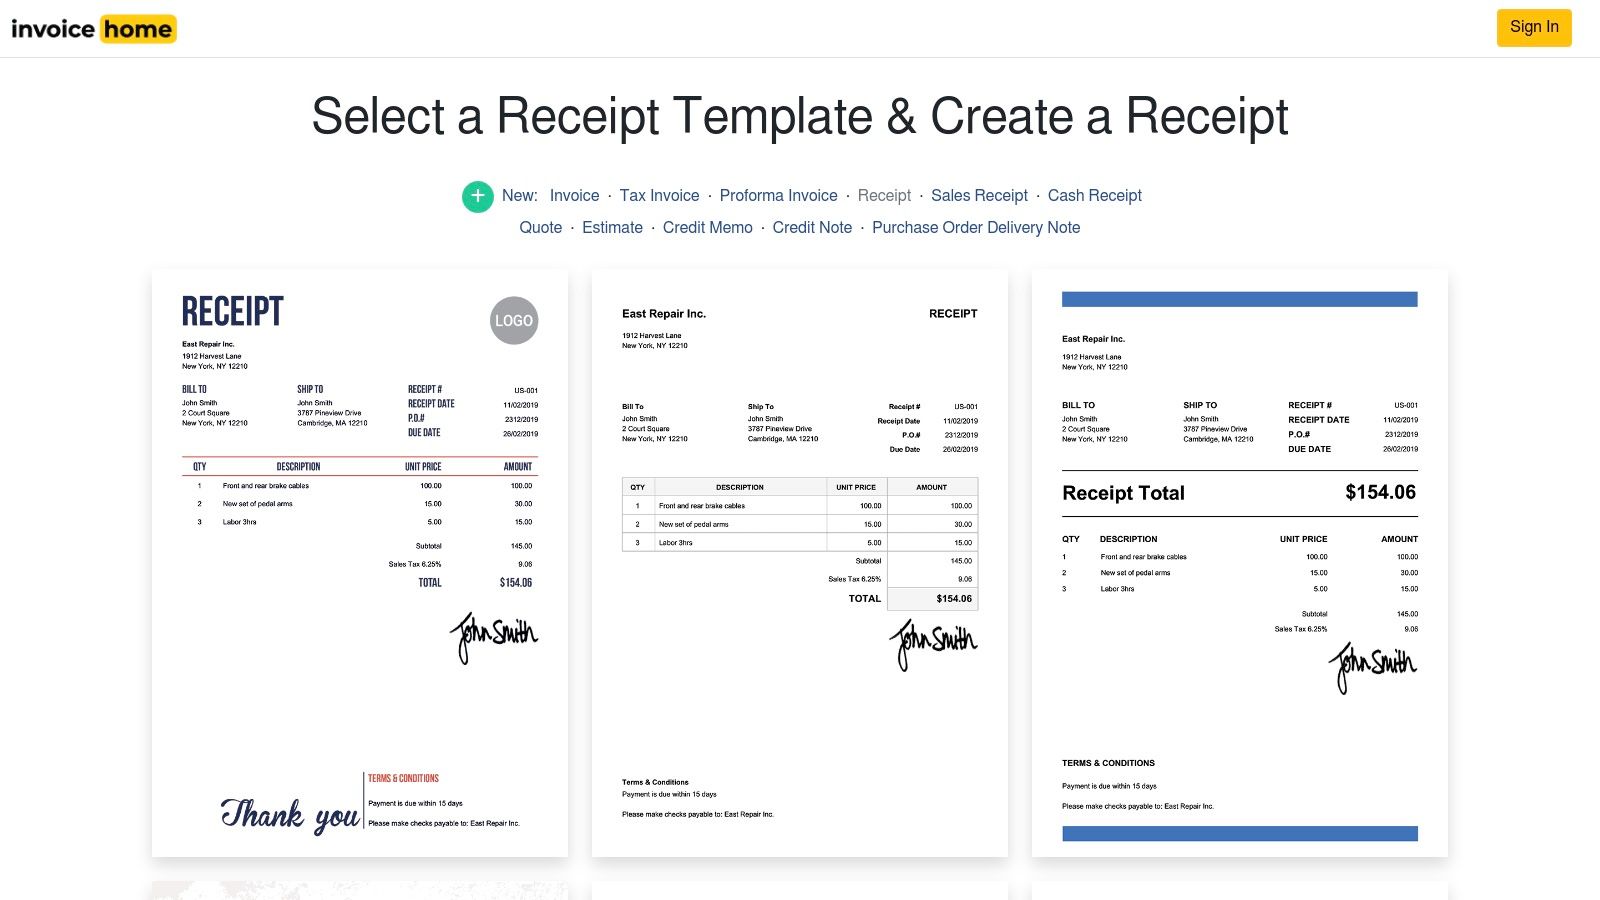
The platform is designed for efficiency, especially for those creating similar receipts regularly. Users can optionally create an account to save client information and receipt history, streamlining future transactions. While it lacks the deep creative customization of design-focused tools, its clean, professional layouts are perfectly suited for official business use. For anyone looking for a reliable free receipt template online that prioritizes function over form, Invoice Home is a practical and effective option. Some advanced features and unlimited document creation may require a paid plan.
| Feature Analysis | Details |
|---|---|
| Ideal Use Case | Merchants needing quick, recurring, and professional-looking receipts. |
| Customization Level | Low (logo upload, basic field editing). |
| Supported Formats | PDF. |
| Limitations | Advanced account features and unlimited use may require a paid plan; limited design controls. |
| Ease of Use | Excellent; very intuitive "fill in the blanks" interface. |
Website: https://invoicehome.com/templates/receipt
Top 12 Free Receipt Template Resources — Feature Comparison
| Product | Core features | Quality (★) | Price/value (💰) | Target (👥) | Unique selling points (✨) |
|---|---|---|---|---|---|
| Receipt Maker 🏆 | 100+ templates, deep customization, PNG/JPEG/PDF, thermal-ready | ★★★★★ realistic & print-ready | 💰 Free tier; premium removes watermark & adds advanced features | 👥 Businesses, freelancers, devs, creative teams | ✨ Thermal fonts/textures, 80mm-optimized PDF, instant downloads, no signup |
| Adobe Express — Receipt Templates | Drag‑drop editor, template gallery, PDF/PNG export | ★★★★ polished UI | 💰 Freemium; some templates paywalled | 👥 Designers & non‑designers needing branded receipts | ✨ Strong brand assets & design controls |
| Canva — Receipt How‑To + Templates | Browser editor, huge template/asset library, collaboration | ★★★★ very easy & fast | 💰 Free + Pro content | 👥 Small teams, marketers, casual designers | ✨ Collaboration, massive assets, simple branding |
| Jotform — Receipt PDF Templates | Auto-generate PDFs from forms, PDF editor, integrations | ★★★★ automation-focused | 💰 Freemium; best with paid form features | 👥 Online sellers, events, nonprofits | ✨ Create+send automation, autoresponders, cloud storage |
| Vertex42 — Excel/Sheets Templates | Excel/Google Sheets templates, auto-calculations | ★★★ spreadsheet-centric | 💰 Free downloads for private use | 👥 Spreadsheet users & offline workflows | ✨ Excel formulas, printable multi-layouts |
| Smartsheet — Receipt Templates | PDF/Word/Excel formats, organized by use case | ★★★ organized & practical | 💰 Free templates; promotes paid Smartsheet product | 👥 Admins & teams needing quick use-case templates | ✨ Curated templates by scenario, multi-format |
| Smallpdf — Simple Receipt Template | Simple downloadable template, PDF editing tools | ★★★ quick one-offs | 💰 Free basic; Pro for advanced PDF tools | 👥 PDF-heavy users & one-off receipts | ✨ Integrated PDF utilities (merge, sign, annotate) |
| PandaDoc — Receipt Templates (e-sign) | Editor with variables, e-sign, send & track | ★★★★ end-to-end docs | 💰 Paid plans for full workflow & e-sign | 👥 Sales teams, contracts, approval workflows | ✨ E-signatures, tracking, approval trails |
| Xero (US) — Receipt Template & Generator | Fillable PDF generator, compliance tips | ★★★★ accountant‑vetted | 💰 Free template; no account required | 👥 Small businesses & accountants | ✨ Accounting-friendly format & compliance guidance |
| Bookipi — Free Receipt Templates | Word/Excel/Google Docs templates, app migration option | ★★★ basic & mobile-ready | 💰 Free templates; optional app upgrades | 👥 Small merchants & mobile users | ✨ Easy migration to invoicing app |
| Template.net — Free/Editable Templates | Multi-format templates (Word/Docs/PDF/Sheets) | ★★★ broad catalog | 💰 Free + gated/subscription content | 👥 Businesses needing specific formats fast | ✨ Wide niche selection & business-ready fields |
| Invoice Home — Online Receipt Templates | In-browser fill & download, save/manage option | ★★★ print-friendly & simple | 💰 Free basic; paid for advanced features | 👥 Merchants needing standard receipts | ✨ Simple fill‑and‑print workflow, account management option |
Choosing the Right Tool for Your Needs
Navigating the world of online receipt tools can feel overwhelming, but as we've explored, the perfect free receipt template online is the one that aligns seamlessly with your specific goals. The key to making the right choice isn't finding a single "best" tool, but rather identifying the best tool for your immediate task, whether you're a freelancer, a small business owner, or a creative professional.
This guide has showcased a diverse landscape of options, from powerful generators to highly customizable design platforms. Your final decision should hinge on a few critical questions about your workflow and desired outcome. Answering these honestly will steer you toward the most efficient and effective solution for your needs.
Key Takeaways for Making Your Selection
To simplify your choice, let's revisit the core strengths of the tools we've covered. Consider your primary objective when reviewing these categories:
- For Speed and Authenticity: If you need a hyper-realistic, professional-looking receipt in seconds for expense reports or prop use, dedicated generators are unmatched. They require minimal input and produce an instantly usable document.
- For Strong Branding and Visual Appeal: When your receipt needs to be an extension of your brand, with custom logos, fonts, and color schemes, creative suites like Adobe Express and Canva are your best allies. These platforms offer unparalleled design freedom.
- For Data Management and Offline Access: If you prefer working within spreadsheets to track transactions or need an offline-capable template, solutions from Vertex42, Smartsheet, and Bookipi are ideal. They integrate smoothly into existing financial workflows using Excel or Google Sheets.
- For Versatility and Multiple Formats: If your needs vary from project to project, look for platforms like Smartsheet or Template.net that offer a wide array of formats, including PDF, Word, and Excel, giving you maximum flexibility.
Actionable Next Steps
Before you download your first template, take a moment to define your requirements. Ask yourself:
- What is the primary use case? Is this for a client payment, an internal expense reimbursement, a film prop, or a software test?
- How important is customization? Do you just need to fill in basic details, or is it critical to add a logo and match your brand's aesthetic?
- What is your preferred format? Do you need a printable PDF, an editable Word document, or a functional spreadsheet?
- How often will you need to create receipts? Is this a one-time need or a recurring daily or weekly task?
Answering these questions will narrow your options significantly. A freelancer needing a quick, one-off receipt for a client has different needs than a business owner who wants a reusable, branded template for all customer transactions. By matching the tool's strengths to your specific context, you can save valuable time and ensure every receipt you issue is professional, accurate, and fit for purpose. The right free receipt template online is waiting, and now you have the framework to find it.
Ready to create a professional receipt in under a minute? For unmatched speed, ease of use, and a wide variety of authentic styles, Receipt Maker is the go-to solution for anyone needing a high-quality receipt on demand. Stop wrestling with complicated software and generate your perfect receipt now at Receipt Maker.